Showing posts with label The Artistic Stamper. Show all posts

Sunday, 11 November 2018

All Squared Up

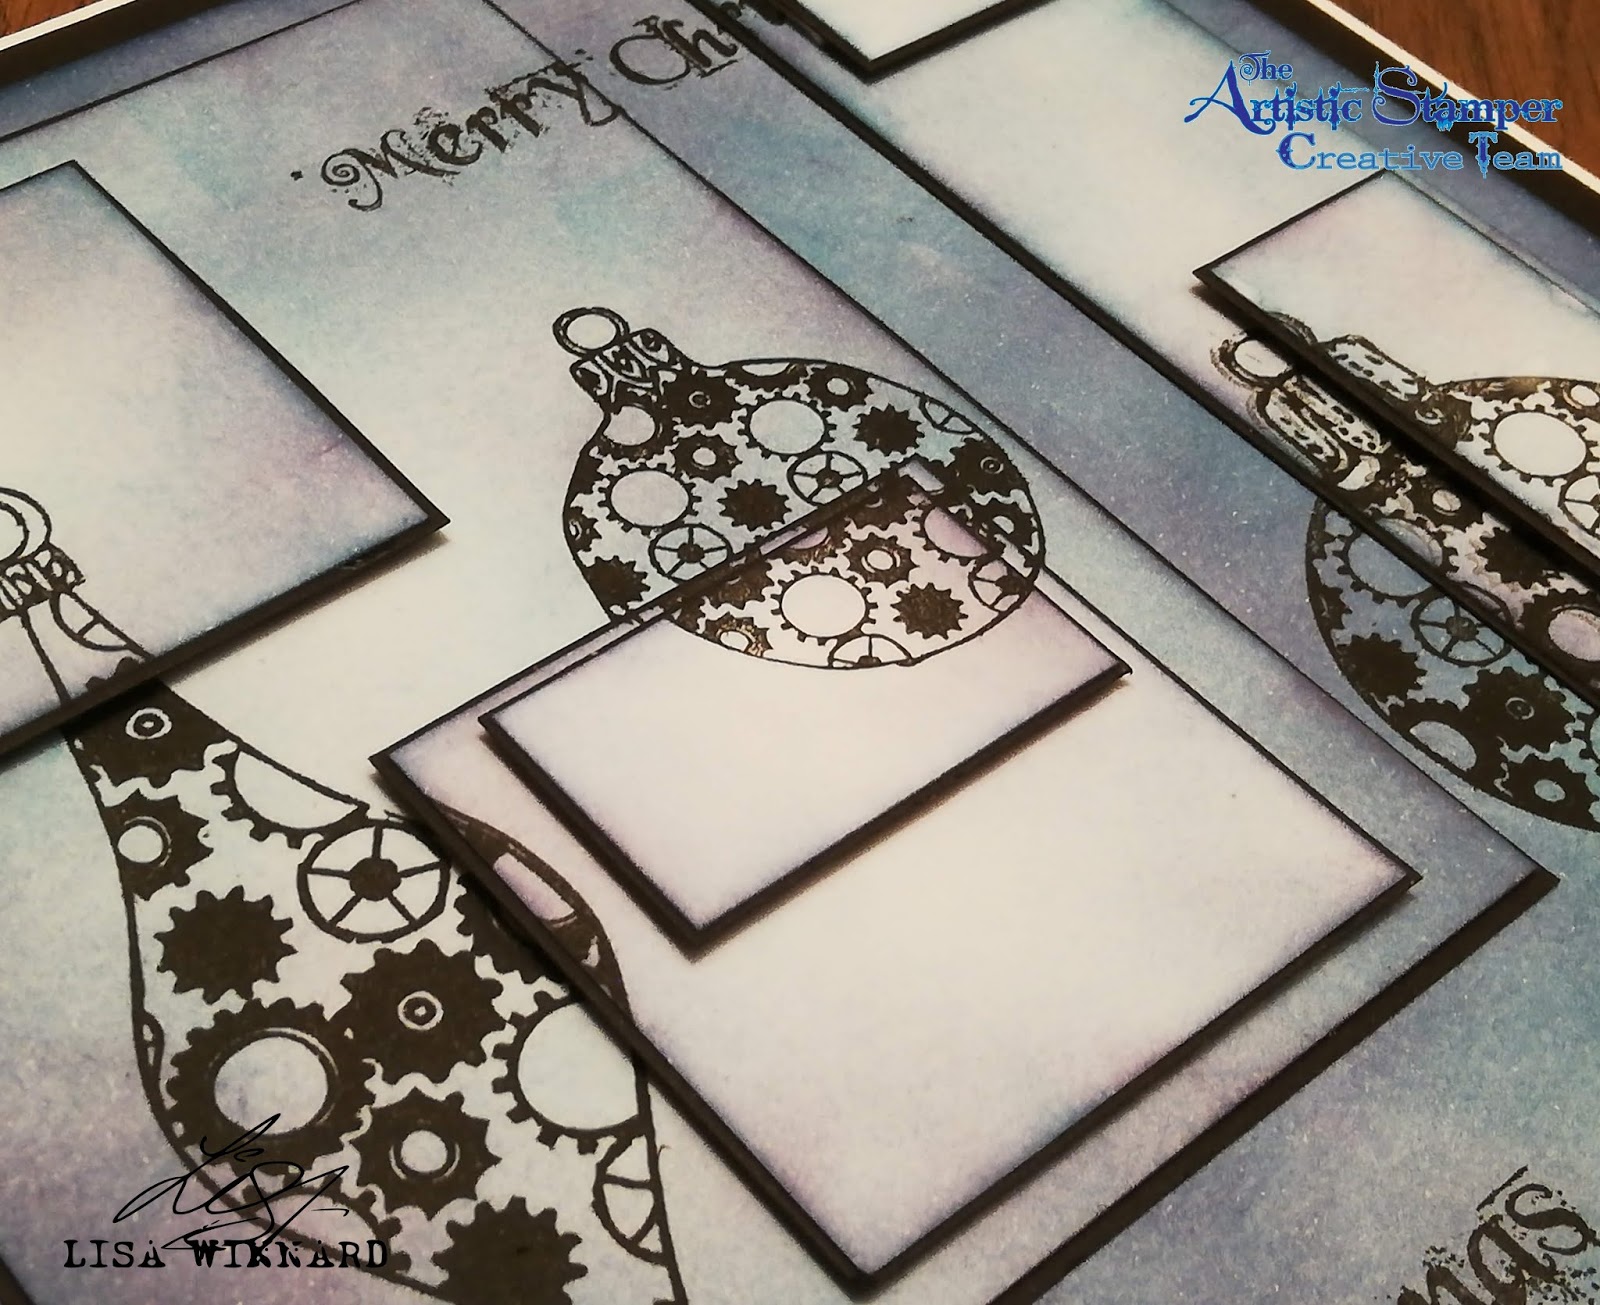
Hello there!! I realise I have not blogged for a while, it has been a busy, busy few weeks. But, I am back with a post for The Artistic Stamper. This month's theme is "Square It".

So here is what I did...


I cut a card blank at 7&3/4" square for a background then cut several other smaller pieces to fit inside the background piece.

I coloured all the individual pieces with Peacock Feathers and Dusty Concord Distress Inks.


I placed all the different card pieces in the correct places then stamped the Tick Tock Christmas Baubles on to the card.


I then matt and layered all the pieces on to black card leaving a very slim border, then used foam pads do stack each layer to give a 3D effect.


Thanks for popping by,
toodles for now.
Lisa x


Tick Tock Christmas Baubles A5 (cut out and mounted on cling cushioning)

I would like to enter this in to the following challenges -
That's Crafty challenge blog - anything goes
Sandee and Amelie Steampunk Challenges - winter special

Monday, 1 October 2018

INKtober

Hello, welcome to my post for The Artistic Stamper. This month is INKtober month!! Which is perfect for us stampers.

So here is my make...


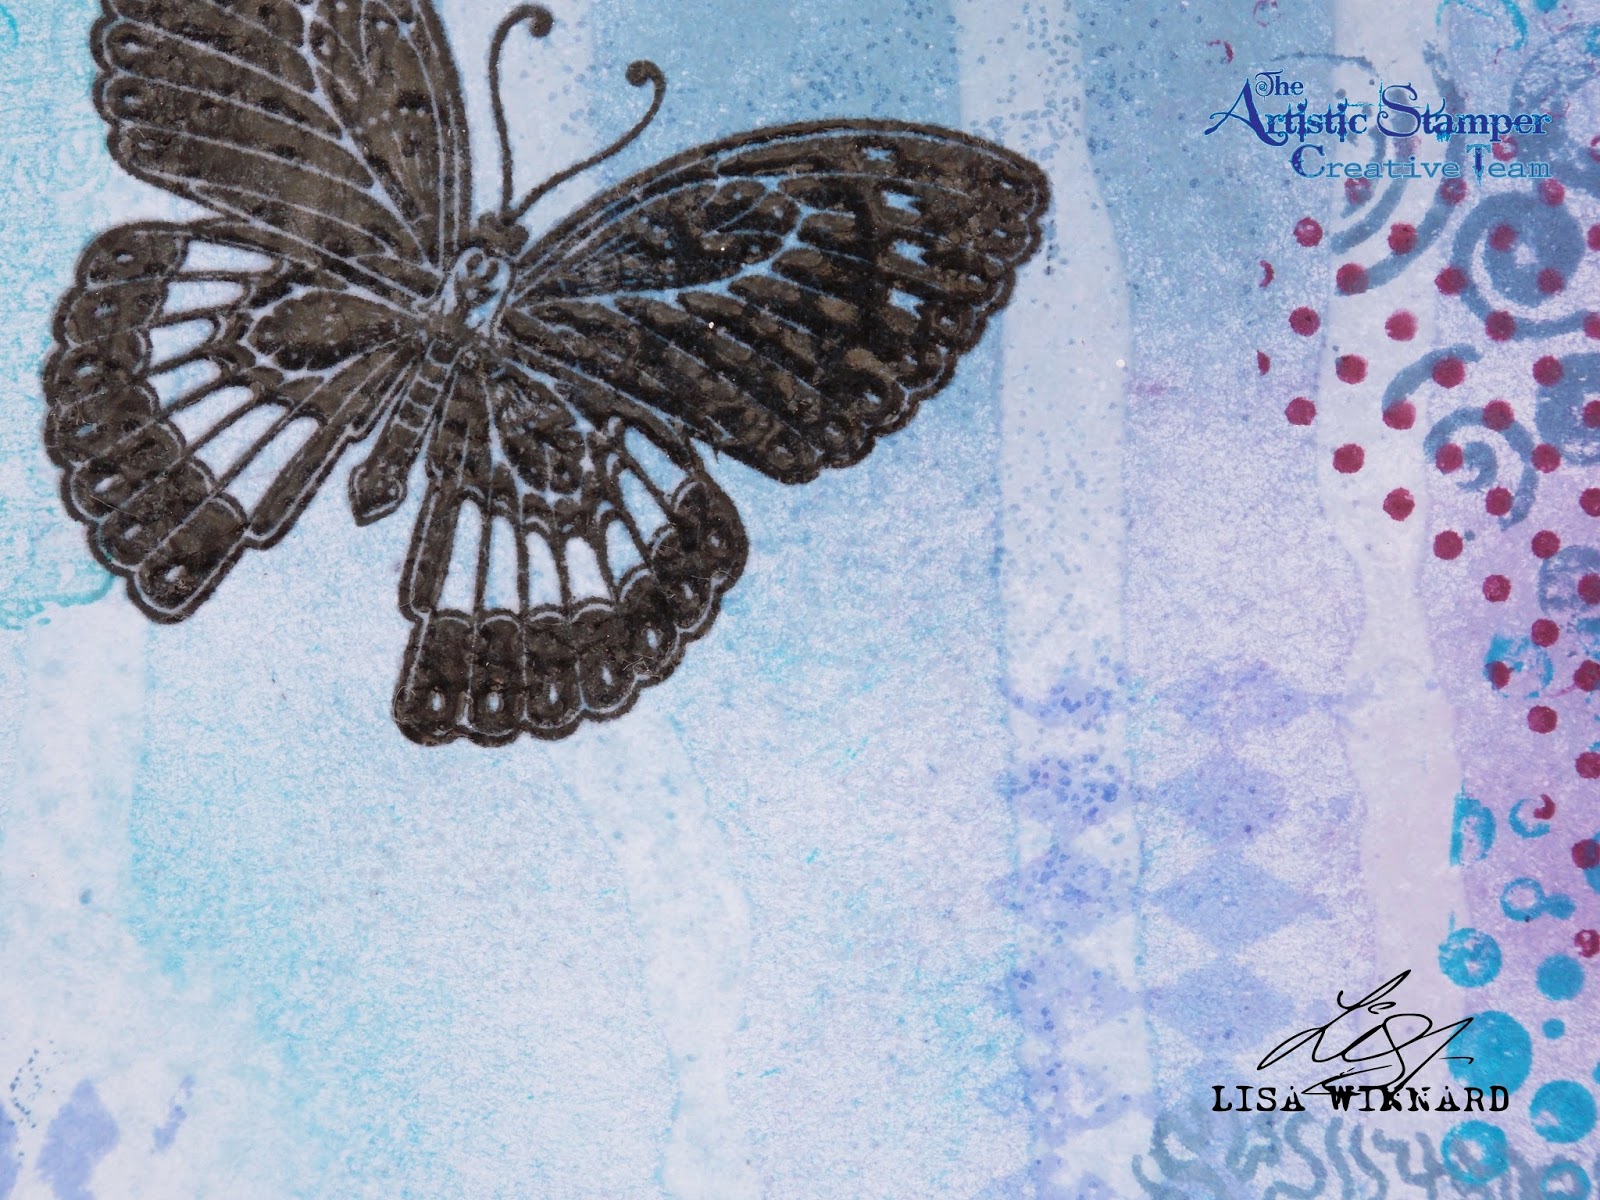
I first stamped the butterflies from the Insects and Butterflies stamp set with brown distress ink then heat embossed them with clear embossing powder.

I made the background by mixing a blue and green distress ink with water on to a craft mat, then swooped a piece of white card through the ink.

I then used The Artistic Stamper Random Dots 6 x 6 stencil with oxide ink and stamped over the top with the ring stamps from the A4 Swirls, Splats and Dots stamp set with oxide ink.

I then used the Decay Alphabet Lower Case set to stamp the sentiment onto another piece of card with the same ink, then matted and layered it.


Thanks for popping by,
toodles for now,
Lisa xx


Pop over to The Artistic Stamper website to see everything I have used.

Swirls, Splats and Dots A4 (cut out and mounted on cling cushioning)      Decay Alphabet lower case size A5 (cut out and mounted on cling cushioning)    Insects and Butterflies 1 A5  (cut out and mounted on cling cushioning)    The Artistic Stamper Mask- Random Dots 6" x 6"

Wednesday, 11 July 2018

Distressed Butterfly

Hi lovelies, today's post is for The Artistic Stamper and this month's theme is 'Distress'.
Distress. My favourite subject!!!


I first started with a plain piece of white card and used Tattered Angels ink sprays to add some colour to the background. 


I then added some layers using Mini Backgrounds #1 & #2 with black ink.


I stamped the large butterfly from the Insects and Butterflies stamp set on to patterned paper then cut out and sprayed with teal ink spray.


I stamped the butterfly on to the background multiple times, overlaying the image with light pressure. 


Then adhered the cut out butterfly over the top.

To finish, I distressed the edges of the card with a pair of scissors. 


Thanks for popping by my blog today,
toodles for now,
Lisa x 


Here are the Artistic Stamper stamp sets I used....


Mini Backgrounds # 2 size A6  ( cut and  mounted on cling cushioning )   Mini Backgrounds #1  size A6 (cut out and mounted on cling cushioning)      Insects and Butterflies 1 A5  (cut out and mounted on cling cushioning)


Sunday, 24 June 2018

Colour it Blue

Hi folks, today I am posting for 
The Artistic Stamper. 
The theme this month is 'Colour it Blue' which for me, is quite "normal" as blue tends to be the most popular colour I go to. (mmmm.... I think I need to stop doing that...


I chose the fabulously crazy Birdz stamp set by Neil Walker to play with. Along with a selection of 3 x 3 stencils and a selection of blue Oxide Distress Inks. 

I first used the stencils with the selection of blue inks on white card creating a background.


I then stamped the Birdz and coloured them in with the Oxide inks and water.


I then stamped the phrase 'free as a bird' using The Artistic Stamper Decay Alphabet stamp set. 


Everything I used is below and available on The Artistic Stamper Website.

Thanks for popping by.
Toodles for now,
Lisa xxx


Birdz Set A6  © Neil Walker (cut out and mounted on cling cushioning)       Decay Alphabet lower case size A5 (cut out and mounted on cling cushioning)      The Artistic Stamper Mask Harlequin 3" X 3"   The Artistic Stamper Mask Chevron 3" X 3"   The Artistic Stamper Mask Sequin Waste 3" X 3"

Friday, 11 May 2018

Creating Backgrounds @ The Artistic Stamper

Hello folks! Welcome to My first post for May for The Artistic Stamper. This month's theme is 'backgrounds'.

The Artist Stamper have a fantastic collection of stamps which can be used for backgrounds. 
I love making my own backgrounds - starting with a white piece of card and adding colours, textures and layers to create a background. 

And this is what I did for this creation...


I started with a white piece of card - size 7" x 7" and coloured the white card with a selection of blues and purples Distress Ink. 


I then added a couple of squirts of water and let the water run down the card.


I used The Artistic Stamper Mini Backgrounds A6 stamp set, Mini Backgrounds A6 #1 and Mini Backgrounds A6 #2 by Neil Walker. 
(These stamps do all come as individual A5 stamps. But with the Mini Background set, there are 4 stamps in the set which I find gives me much more variety.)

I used stamps from all three sets and stamped using the same Distress Inks, layering and overstamping the patterns.


I then stamped the butterfly from the Insects and Butterflies A5 stamp set on to the background with black ink. I then heat embossed it with clear embossing powder.


To finish I added a sentiment from the Tim Holtz Advantus Idea-Ology Small Talk sticker.


Thanks for popping by my blog today.
Toodles for now,
Lisa xxx 

Here is everything I used...


Mini Backgrounds #1  size A6 (cut out and mounted on cling cushioning)       Mini Backgrounds # 2 size A6  ( cut and  mounted on cling cushioning )       Mini Backgrounds size A6  © Neil Walker (cut out and mounted on cling cushioning)   Insects and Butterflies 1 A5  (cut out and mounted on cling cushioning)   Image result for tim holtz small talk stickers uk   

I would like to enter this in to the following challenges:
Craft Stamper - "Take It Make It challenge May - anything goes
Stamping Sensations - Sir Stamps A Lot May challenge - "Close To Nature"


Wednesday, 9 May 2018

3D florals for Canvas Corp Brands - 'How To' 3D flowers


Hello folks, one of my creations for Canvas Corp Brands has been published on their blog. So I thought I would share with you a detailed 'how to'.

Here is my 3D floral card I made with Canvas Corp Brands products...


First, I made the 3D flowers from a PaperArtsy Stamp.
Using the Paperartsy Hot Pick Xtra 02 (Flowers) and corresponding dies, I stamped the flower stamps on to a 12 x 12 sheet of 7gypsies Architextures - Travel Habit cardstock and did the same on a piece of 12 x 12 CCB heavy kraft card.
I stamped 2 large flowers and 2 medium sized flowers then die cut them.


The 1st large flower cut a slit from the edge to the centre in between two petals.
The 2nd large flower - cut out one of the petals, then the centre of the flower.
The 1st medium flower - cut out one of the petals, then the centre of the flower.
The 2nd medium flower - cut out two of the petals, and the centre of the flower.
Use the two petals and the one petal from the cut medium flowers.


Glue one cut edge to the other cut edge of each flower with strong glue.


Take the biggest flower and put a big blob of glue in to the centre.


Place the next biggest flower in to the glue. 


Continue with the next biggest flower...


And the next, until all the pieces are placed inside to create the full flower.


Wait for the flowers to dry.


Smaller or bigger flowers can be created using different selections of the stamps.


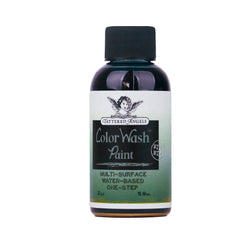
Using a piece of white card, colour it with Tattered Angels Colour Wash Paint - Weathered Copper and Tattered Angels Glimmer Mist - Pearl and Merlot Gold.


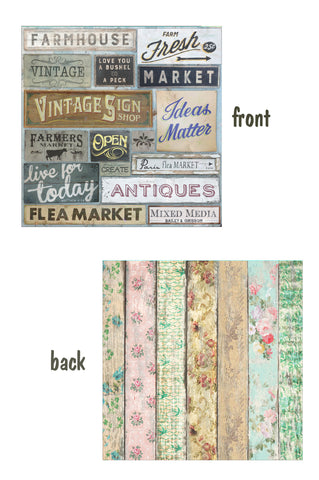
Cut strips of card for the 7gypsies Architextures 12 x 12 - Market Signs and place down the edge of the card.


Using a Canvas Corp small kraft tag, spray with Tattered Angels Glimmer Mist - Tattered Leather. Cut the tag in half and use Canvas Corp hemp rope to the top half of the tag. Put the top half of the tag in the top right corner. Place the bottom half of the tag at the bottom of the card. 


Place a piece of 7gypsies lace trimmings in the bottom left corner.


Place three 3D flowers on to the card. Cut a section of 7gypsies Architextures Tall Base - Triangle Grid to the right, under the flowers.


Stamp the words 'for you' on to a piece of the 7gypsies Architextures - Travel Habit cardstock, which was used for the 3D flowers, using The Artistic Stamper Decay Alphabet stamp set.


Here is the link on the Canvas Corp Brands Blog

Thanks for popping by,
toodles for now.
Lisa xxx 


Here are all the products I used...

Architexturesâ„¢ 12x12 Paper - Travel Habit  Bulk Kraft Paper 80#  Architexturesâ„¢ 12x12 Paper - Market SignsGlimmer Mist - Merlot Gold  Glimmer Mist - Pearl Glimmer Mist - Tattered Leather Color Wash Faux Finish  - Weathered CopperDecay Alphabet lower case size A5 (cut out and mounted on cling cushioning)Cord Rope Natural Hank 45'Bulk Kraft Paper Tags (Assorted Sizes Available)   Image result for paperartsy hot pick xtra flowers