Showing posts with label Distress Inks. Show all posts

Friday, 11 May 2018

Creating Backgrounds @ The Artistic Stamper

Hello folks! Welcome to My first post for May for The Artistic Stamper. This month's theme is 'backgrounds'.

The Artist Stamper have a fantastic collection of stamps which can be used for backgrounds. 
I love making my own backgrounds - starting with a white piece of card and adding colours, textures and layers to create a background. 

And this is what I did for this creation...


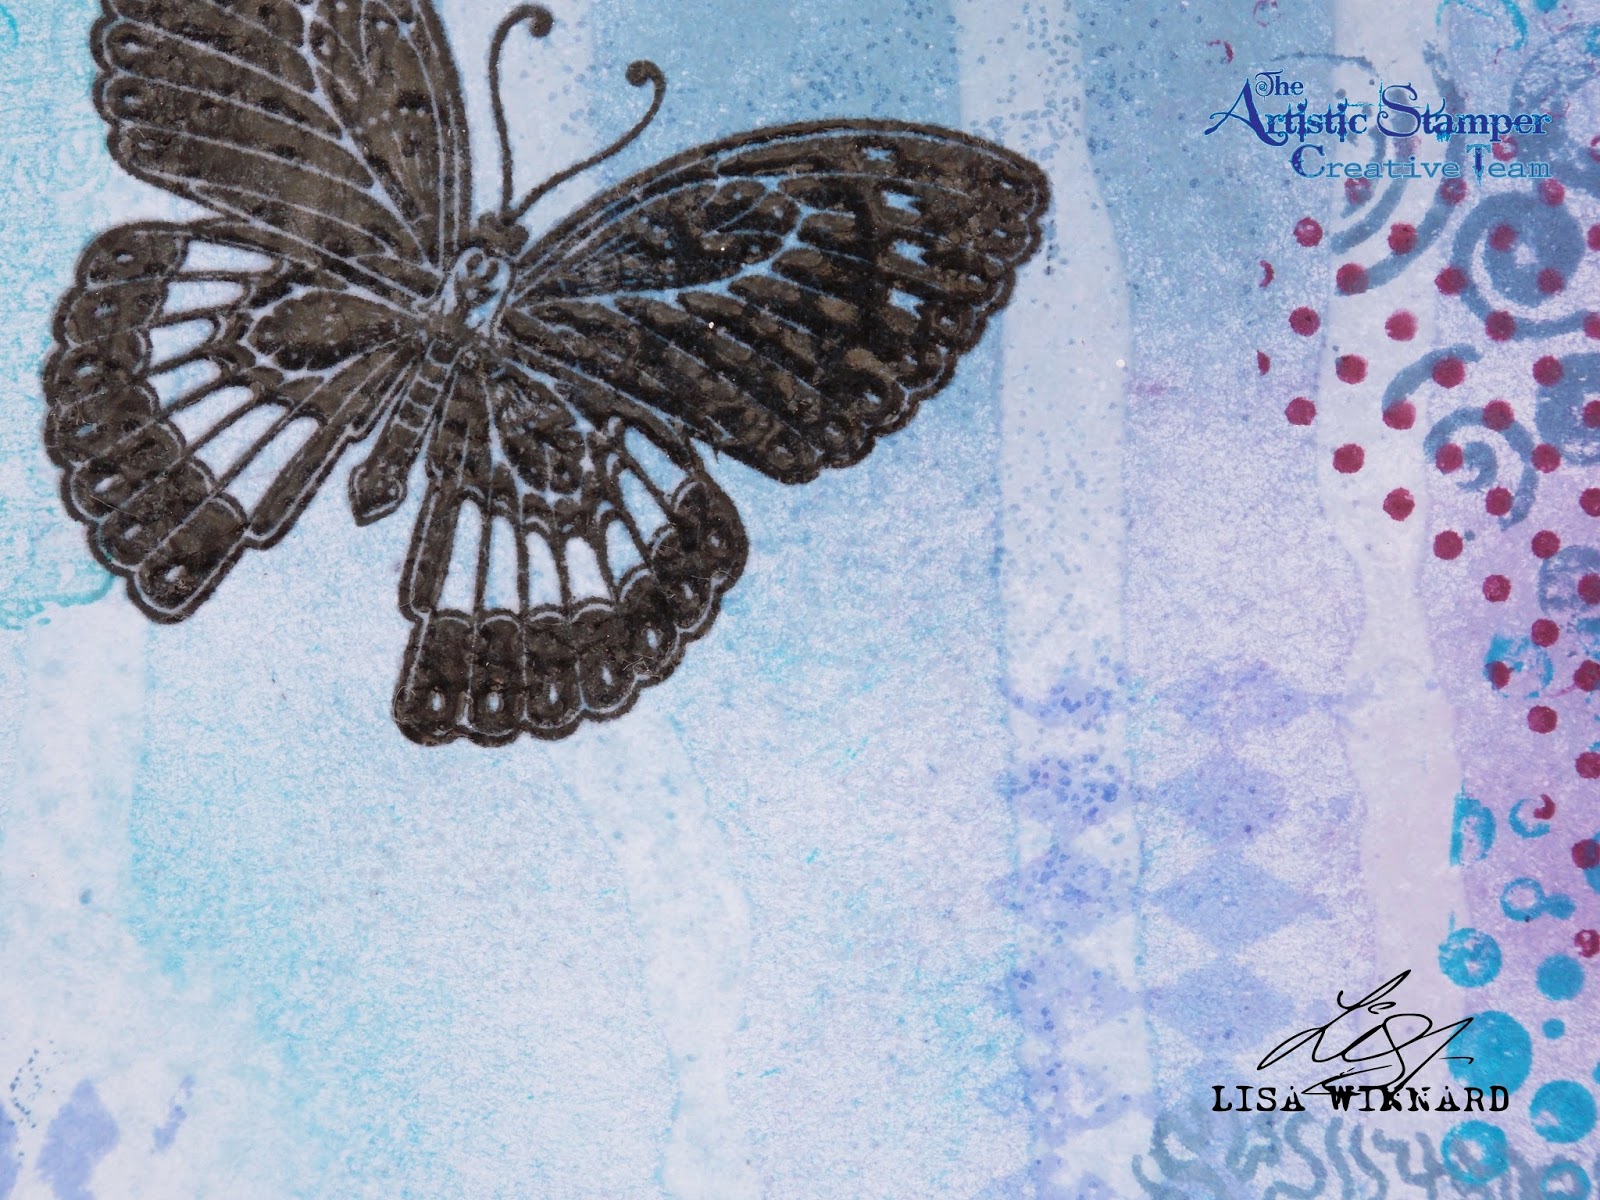
I started with a white piece of card - size 7" x 7" and coloured the white card with a selection of blues and purples Distress Ink. 


I then added a couple of squirts of water and let the water run down the card.


I used The Artistic Stamper Mini Backgrounds A6 stamp set, Mini Backgrounds A6 #1 and Mini Backgrounds A6 #2 by Neil Walker. 
(These stamps do all come as individual A5 stamps. But with the Mini Background set, there are 4 stamps in the set which I find gives me much more variety.)

I used stamps from all three sets and stamped using the same Distress Inks, layering and overstamping the patterns.


I then stamped the butterfly from the Insects and Butterflies A5 stamp set on to the background with black ink. I then heat embossed it with clear embossing powder.


To finish I added a sentiment from the Tim Holtz Advantus Idea-Ology Small Talk sticker.


Thanks for popping by my blog today.
Toodles for now,
Lisa xxx 

Here is everything I used...


Mini Backgrounds #1  size A6 (cut out and mounted on cling cushioning)       Mini Backgrounds # 2 size A6  ( cut and  mounted on cling cushioning )       Mini Backgrounds size A6  © Neil Walker (cut out and mounted on cling cushioning)   Insects and Butterflies 1 A5  (cut out and mounted on cling cushioning)   Image result for tim holtz small talk stickers uk   

I would like to enter this in to the following challenges:
Craft Stamper - "Take It Make It challenge May - anything goes
Stamping Sensations - Sir Stamps A Lot May challenge - "Close To Nature"


Wednesday, 25 April 2018

The Artistic Stamper Birds and Bees theme... with a twist

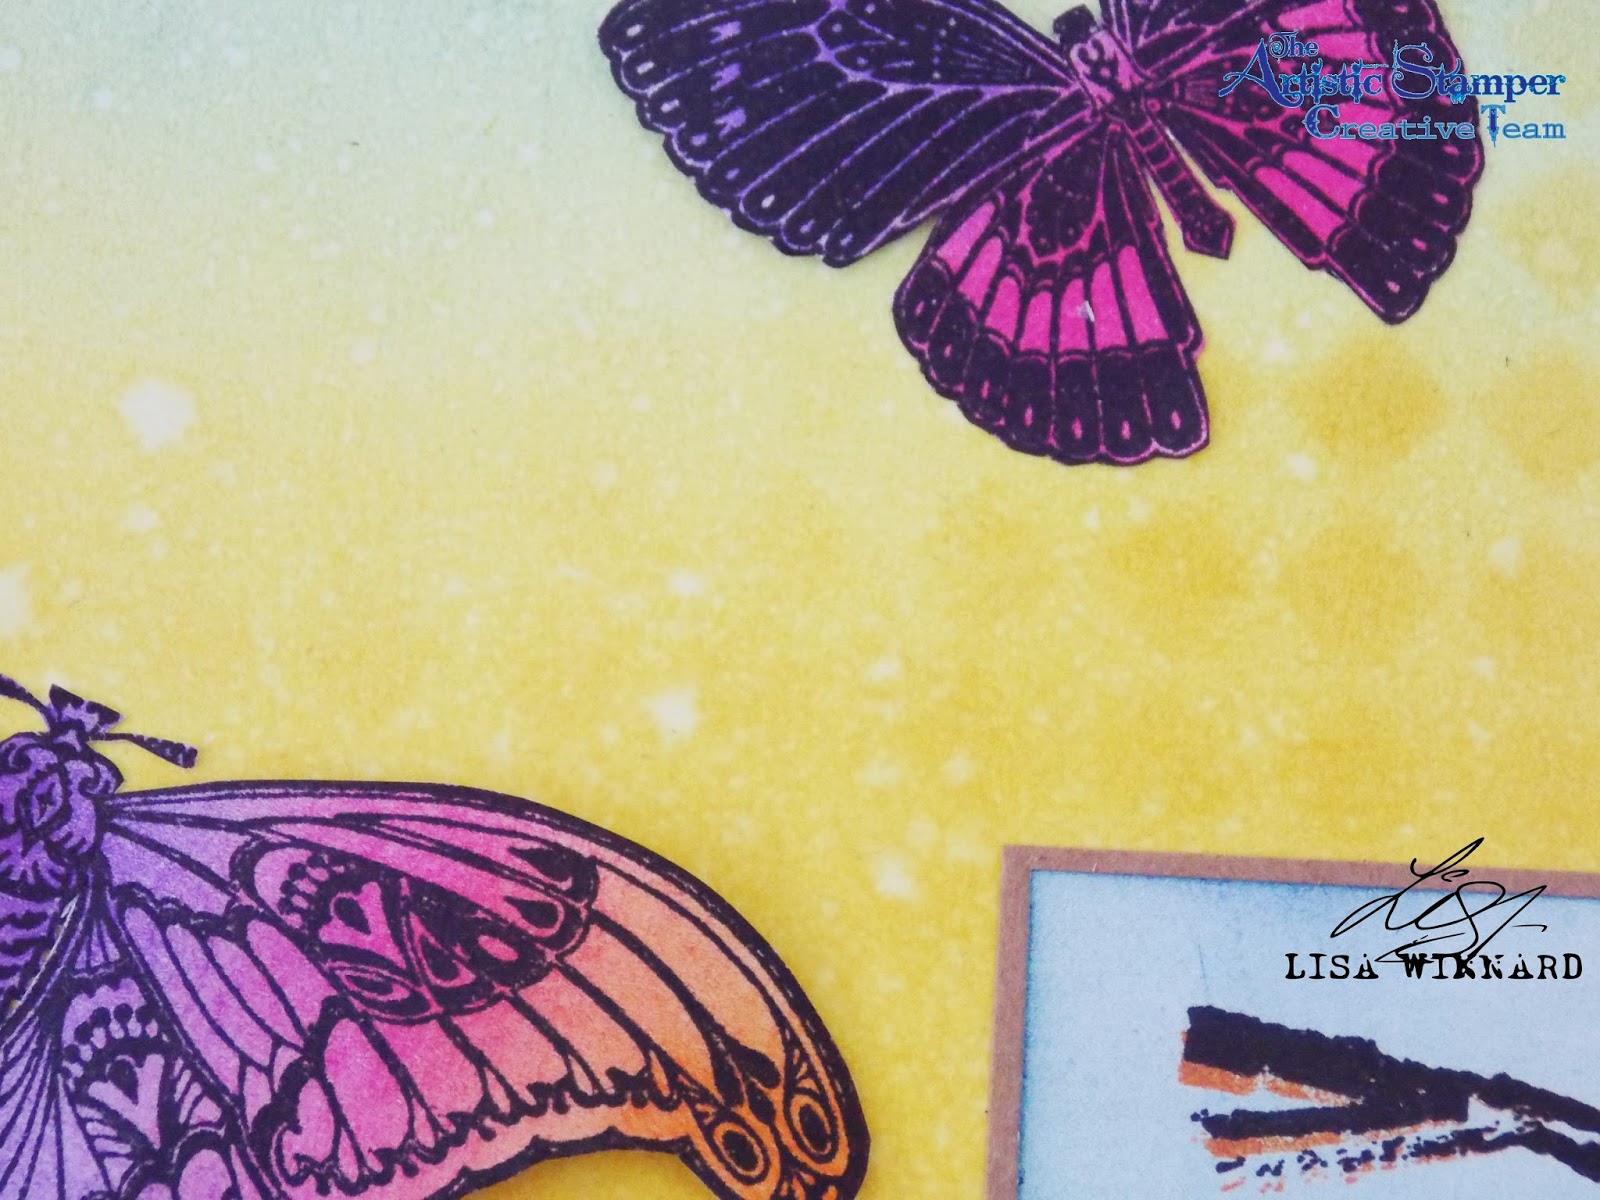
Hi folks, I'm here with another creation for the Birds and Bees theme this month. But with a twist... I've used butterflies.

I used The Artistic Stamper A5 Insects and Butterflies stamp set, which has a gorgeous collection of winged creatures. 

On my last creation for this theme I used birds and the previous one, I used bees. So, this time I went with a more pretty version of a winged creature - butterflies. I love butterflies! I have quite a wide variety of butterfly stamps and even though I have many, I still continue to collect them, as you can never have enough!!!

Here is my creation...


I coloured a piece of white card with Distress Inks using Mustard Seed, Cracked Pistachio and Blueprint Sketch. 

I then sprayed the inked background with water and left to dry.


I used The Artistic Stamper 3 x 3 Harlequin Mask with the same colours of ink to add some depth.


I then stamped the butterflies from the Insects and Butterflies stamp set on to white card and coloured them them with Carved Pumpkin, Wilted Violet and Picked Raspberry Distress Inks.

I adhered the butterflies at different heights coming off the background.

I then stamped the word 'fly' using black Versafine ink then 
over-stamped with Carved Pumpkin Distress Ink, and lightly brushed Blueprint Sketch ink over the top. I matted the word on to Kraft Card and glued it to the  bottom corner of the background.


To finish, I matted the background on to Kraft Card.


Thanks for popping by.
Toodles for now,
Lisa xxx


The stamps and stencil I have used are available on The Artistic Stamper website


Insects and Butterflies 1 A5  (cut out and mounted on cling cushioning)   The Artistic Stamper Mask Harlequin 3" X 3"      Decay Alphabet lower case size A5 (cut out and mounted on cling cushioning)

Sunday, 1 April 2018

Honeycomb Spring with TAS

Hello folks and welcome to my post for The Artistic Stamper. The start of April comes a new Spring theme, "Birds and the Bees".

For this creation I used The Honeycomb Background stamp.


I used the Honeycomb Background stamp with a selection of Distress Inks to create the background, inking and stamping with the inks.


I then used the same stamp stamped with black ink and coloured with Distress Inks to create the top layer.


I applied 6 layers of clear embossing powder over the top then cracked the embossed layer to create texture. I cut in to 1 inch sections and mounted on to black card. 
I then stamped one of the bees in the stamp set, fussy cut and stuck with 3D foam dots. 


To finish I added a 7 Dots Studio sticker sentiment.


Honeycomb Background & Free Bees  (cut out and mounted on cling cushioning)


Thanks for popping by my blog today. 
Please leave a comment if you wish, 
I love to hear your thoughts.
Toodles for now,
Lisa xxx

Friday, 1 December 2017

The Artistic Stamper . . . My 1st post!!! The Artistic Stamper Challenge - Christmas

Hello folks, and welcome to my 1st post for The Artistic Stamper Challenge.  

My 1st creation is for the Monthly Challenge which starts on the 1st December, so the theme could only be... Christmas.


Here is my creation...


I first placed The Artistic Stamper 6 x 6 Random Dots mask on a piece of white card and spread a thick layer of structure paste through the mask then left to dry.

I inked the background using Broken China and Faded Jeans Distress Oxide inks.

I then stamped in between the random dots of the mask using The Mini Backgrounds A6 (Neil Walker) Stamp Set.


I stamped the 3 baubles from the Tick Tock Christmas Baubles set on to white card with blank ink then cut them out and inked them using Distress Inks


I stamped the same stamps on to acetate using flake and glitter glue, then added gilding flakes. 


I layered the acetate baubles on top of the card baubles and punched a hole in the top. I then thread through some black cord and some old chain.


I stamped the sentiment from the Tick Tock set on to a separate piece of card in black ink. I added flake glue around the edge of the sentiment and the edge of the background card and added more flakes. 


I adhered layers of foam pads on the back of the baubles to make them stand from the background page. 


To finish, I mounted the background on to black card.


Here are the items I used from The Artistic Stamper and they are all available on the website. 


Thanks for popping by my blog today to see my 1st creation for The Artistic Stamper. 
I hope to see you over on the Challenge page. 
Toodles for now,
Lisa xxx 


Sunday, 7 August 2016

Colour Challenge @ Tando

Hi folks and welcome to the first blog post of August for Tando Creative
And I think summer has officially started this week - finally!!!
This week's theme is the colour challenge. And with summer here, August's colour palette is just fitting.

Here is my creation...


I decided to create a tag for this challenge. I chose a selection of Distress Inks to work with - Mermaid Lagoon, Picked Raspberry, Dried Marigold, Cracked Pistachio and Scattered Straw. 

I picked the Hot Air Balloons from Tando for this project as most people choose the summer time to travel and with the colour palette, I wanted to create a sunset background with balloons floating through the sky.

I randomly applied each chosen colour of ink to different areas of the tag making sure to blend the edges where the colours met. I then sprayed on water from approx 18", left it for a few seconds, then dabbed the water off with paper towels to create a mottled effect over the inking. 

I then covered the tag with clear embossing ink and heat embossed it with clear powder. I completed this method twice to create a nice smooth feel. 


I painted three of the hot air balloons with white Liquitex Gesso, then gave them a coat of DecoArt Crackle Paint. When the paint was dry, I applied three of the Distress Ink colours to the balloons. 

I then stamped the balloons with a travel ticket stamp from Lost Coast Designs using Smokey Grey Versafine Ink.


To finish, I adhered the balloons, the biggest towards the front of the tag, and added some ribbon and string at the top of the tag. 


If you would like to join in with this weeks challenge and to see some fabulous inspirational pieces from the Tando Creative Team, hop over to the Tando Website


Thanks for popping by,
Lisa x 

Sunday, 6 March 2016

Colour Challenge @ Tando

Hi there, today I'm here with my take on this weeks colour challenge over at Tando.


Here is my creation...


I decided to do a 7.5" x 7.5" card front and I focused on the pinks, purples and greens on the colour palette.
I used the distressed diamonds mask with some filler to get a really thick, textured look. I mixed some crushed olive distress ink with the filler to colour it. 


I then added victorian velvet and tattered rose distress inks to the background and a tiny hint of dusty concord. 
I coloured the mini book plates with dusty concord and used crushed olive and peeled paint distress ink to colour the swirls.

I stamped the word 'cherish' directly on to the card and stamped the word 'forever' on to a separate piece of card. 
I cut the 'forever' up and put it inside the bookplates. I then covered the centre of them with DecoArt Liquid Glass.


Thanks for popping by, Lisa x 

Here are the Tando products I used which are all available on the Tando website


Mini Mask - Distressed Diamond      Mini Book Plates       Mixed Swirls Small

Sunday, 18 October 2015

Emboss your storage @ Tando Creative

Hi all, hope you are enjoying your weekend. For this weeks challenge over at Tando, it's use an embossing folder. 

I decided to use some of the Tando masks rather than folders as they emboss brilliantly and they are much more funky than the folders I have. (Bore alert!!!)

Here's what I came up with...


I used the Tando letters mask and the Tando Grid - round masks to decorate the different pieces of the Tando 3D bird house desk storage, which I embossed 6 of each mask. 

I dragged distress ink over the top of the embossed card and heat embossed with silver pearl distress ink. 

I then coloured the background with watered down IndigoBlu English Cottage Artist Acrylic paints. Then wiped the paint of the embossed areas with a wet wipe.
I flicked on some white gesso and rubbed over some black gesso to distress it. 

I did this with all 12 pieces of embossed card then drew round each of the pieces of the bird house and cut them out with a craft knife. 

I glued on each piece with DecoArt multi medium and painted the roof apex with black gesso, which can also be used as chalk board paint, then put the 3D bird house together. 


Bits & pieces I used....
Tando....
3D Bird House storage
Letters mask
Grid - round mask

IndigoBlu....
Paints - Townhouse Teal, Park Lane, Sleeping Beauty, Aladdin.
Gee-Sso Good Gesso - white, black

Other....
Distress Inks - Mermaid Lagoon, Chipped Sapphire, Faded Jeans.
Heat It Up embossing powder - Silver Pearl
Hot glue

Thanks for popping by, 
Lisa xxx