Showing posts with label Tando. Show all posts

Saturday, 18 January 2020

Paints, Inks and Sprays...

Hello lovelies, welcome to the first post of 2020!!! And my first post of the new year is for Tando Creative
This weeks theme is "paints, inks and sprays". These are great base products for creating mixed media pieces.


Products I used...

Tando: tag; extra thins - rectangles
DecoArt Premium Acrylic paints: Cobalt Teal; Titan Buff;
DecoArt Media: white gesso
DecoArt Media Misters: white shimmer; turquoise shimmer
Stamp/s: Imperial Rover Bike - Andy Skinner 


Thanks for popping by...


Saturday, 31 August 2019

Heat Embossing with Tando Creative

Helllllooooo.... lovely people. It has been a long, long time since I blogged with the summer holidays, children being off school and a load of other things going on.... 

But, today I am blogging for Tando Creative and this weeks theme is 'heat embossing'. 

As soon as I first discovered heat embossing (too many years ago to mention) I instantly fell in love, and still continued to be astonished with the process to this day.

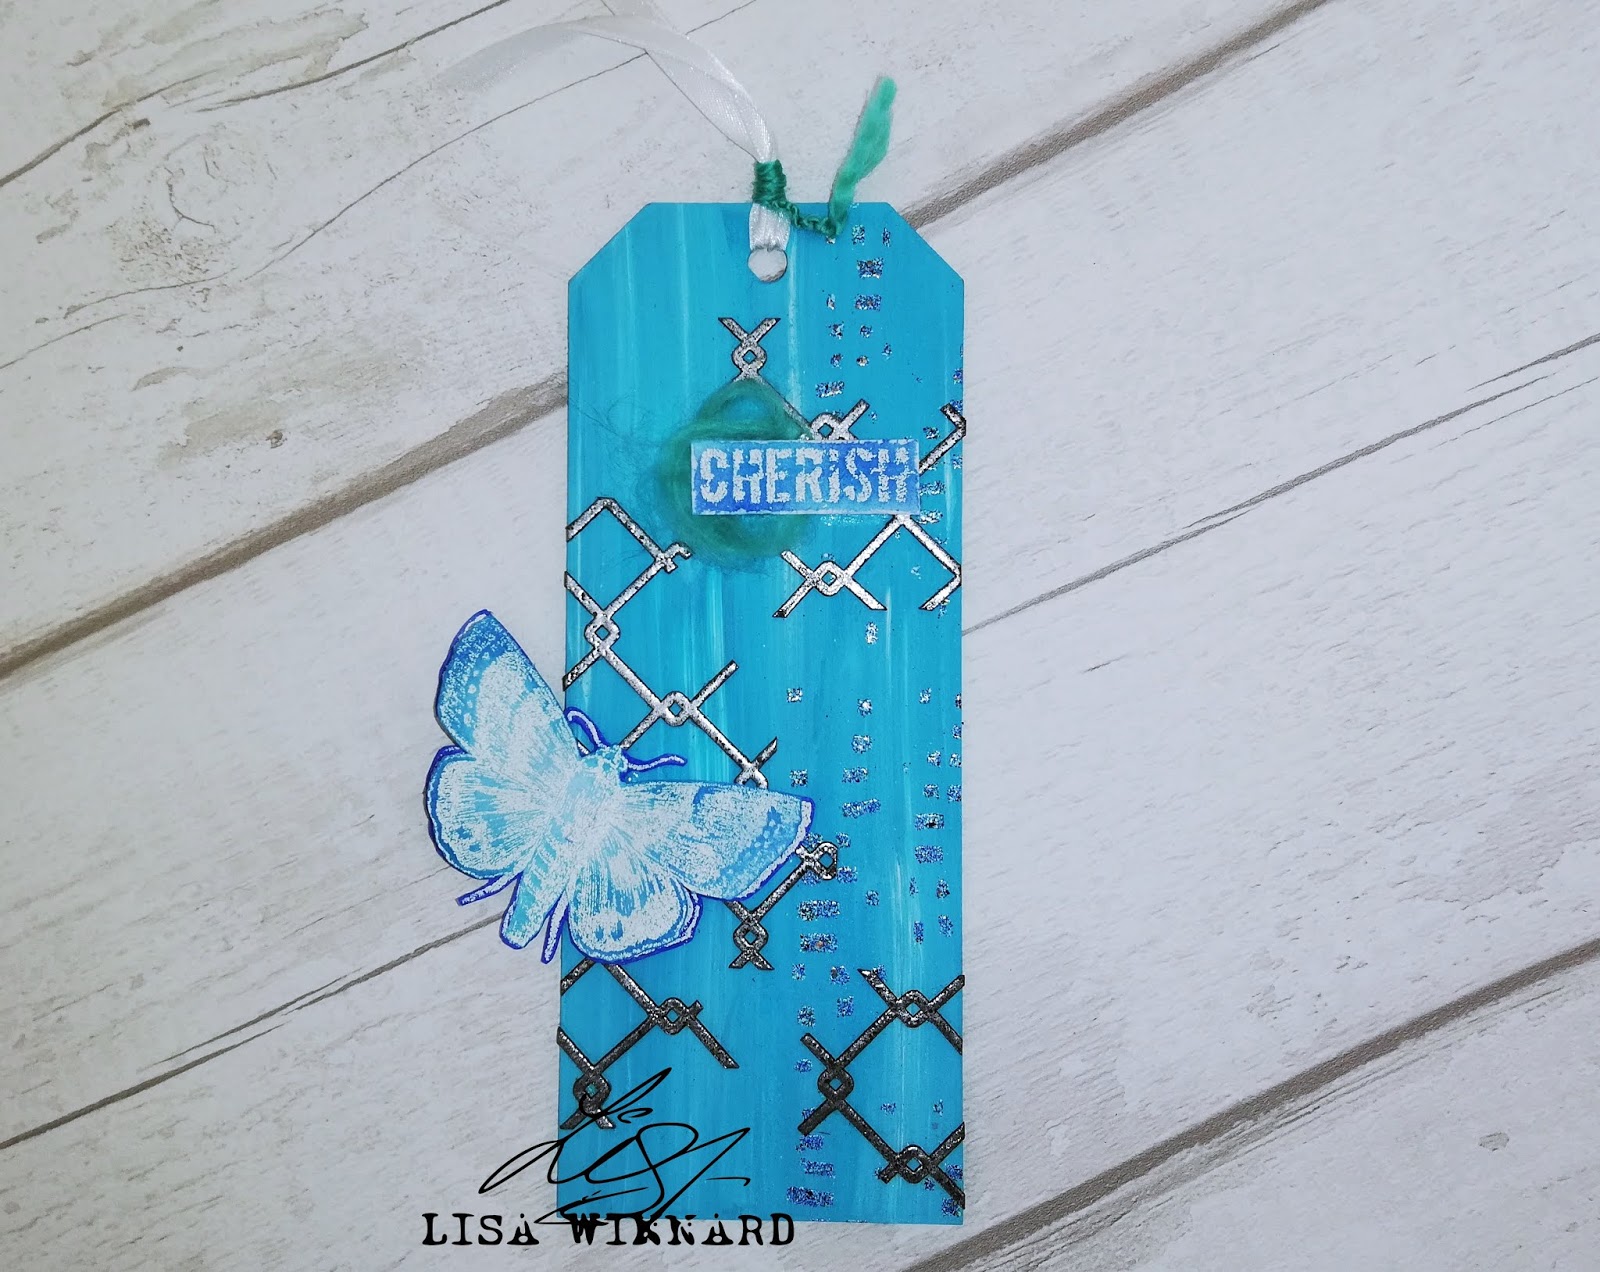
So for this tag, I used a selection of Tando stencils, the new Andy Skinner Embossing Powder and stamps from Creative Expressions.


I first painted a Tando tag using DecoArt Premium Acrylic Paints in Colbalt Teal Hue mixed with White Gesso. Then heat emboss using a Tando stencil with clear embossing ink and Andy Skinner's Embossing Powder.


I then heat embossed Tando Thins with the clear embossing ink and another of Andy Skinner's Embossing Powder.


Using Andy Skinner's new stamp - Gypsie Queen stamped with clear embossing ink and White Embossing Powder, twice on to white card,cut out then inked one with a dark blue ink and one with a light blue ink. Then over layed them and glued them together.


Stamp the sentiment on to white card using clear embossing ink and white embossing powder. Then inked with the blue ink.


Add some blue wool under the sentiment and add some thread through the tag hole.


The Tando blog is currently under reconstruction and will be back up and running asap.


Thanks for popping by,
Lisa x


Wednesday, 17 July 2019

Dream Tag

Hello lovely people! I am here with an 'Anything Goes' for Tando Creative. For this project, I created a step by step of a one-layer tag using a selection of different 
Tando stencils. 


Step-by-step


Step 1 - Using DecoArt Premium Acrylic paints and a Tando greyboard tag, created a background using 3 different colours.


Step 2 - glue some torn book pages on to the tag.


step 3 - Using the DecoArt Premium Acrylics, stencil the tag using Tando Cogs Group 6x6 stencil


step 4 - stencil using the Tando 260mm x 65mm Numbers stencil.


Step 5 & 6 - rub the tag gently with a damp cloth to distress the stencilled areas.


Step 7 - add DecoArt Acrylic Titan Buff paint with water over the tag.


Step 8 - Using the Tando 4 x 4 Distressed Diamond to stencil the tag.


Step 9 - Using DecoArt Media Texture Sand Paste and Tando 4 x 4 Distressed Sequins Stencil the tag.


step 10 - Use DecoArt Premium paint (Paynes Grey) to colour the Texture Sand Paste.


Step 11 - Used Tando 260mm x 65mm Rings stencil on the tag.


Step 12 - Stamp the image on to the tag.


Step 13 - Colour a piece of card using Distress Oxide Ink and water.


Step 14 - Stamp the words on to the coloured card.


Step 15 - Cut out the word from the stamped sentiment.


Step 16 - Add the word to the tag.


FINAL TAG


Thanks for popping by,
Lisa x


Here are all the products I used which are available on the Tando Website.


Cogs Group Mask 15cm x 15cm   Stencil 260mm x 65mm: NUMBERS   Mini Mask - Distressed Diamond   Mini Mask - Distressed Sequins

Stencil 260mm x 65mm: RINGS      Paynes Grey Premium    10off Tags Size 5 120x60mm


Saturday, 13 October 2018

Tando 3D Challenge for Craft Stamper magazine.

Hello lovely lot. As you may have heard, the Tando team were given a 3D Challenge to feature in Craft Stamper Magazine. 

We were all given the same 3D substrate, designed by Di to play with and decorate. Being a CS subscriber I have seen all the examples and they are all so different. There are so many things you can do with it. 


Here is my take on it...


So, the 3D substrate opens up as a gate fold with help from the fabulous and creative stretchy hinges to reveal two little storage spaces to put in whatever you wish...


With Tando greyboard you can throw anything at it you wish, and that is just what I did! It can take a huge amount of different mediums without falling apart like other products.
So, my first layer was a nice thick layer of DecoArt Crackle Paint and DecoArt Texture Sand which I added both the different mediums quite randomly on the outside of the substrate.


When the crackle paint and texture sand had dried I painted it with DecoArt Premium acrylic paint. And added a bit of dry brushing with DecoArt white Gesso. 

I added lots of stamping to the outside and inside using a selection of Carabelle Studio Stamps using StaZon Ink.


Then came the question, what to put inside.... I decided to turn my substrate in to a mini stationery kit, so I added some small pieces of paper and mini pencils. I thought this could be a cool little item to keep near the telephone, or next to the noticeboard when a quick list or message would need to made...


I took a piece of thin white ribbon and painted it with the different shades of blue DecoArt Premium Acrylics, then tied the ribbon at the front to close the gate fold front.


Thanks for popping by my blog today.
Toodles for now,
Lisa x

If you fancy taking a look at what the rest of the team did with for the 3D Challenge, checkout the November edition of Craft Stamper magazine, which is in shops now!!!


Sunday, 30 September 2018

Mixed Media Ring Binder

Hello lovely crafters. I'm here with my creation for Itsy Bitsy.

For this creation I decided to decorate a Tando Creative greyboard folder. 
Greyboard is a fantastic base to work on as it strong enough to take numerous layers of different mediums. The size of the folder is just a bit bigger than A4 with a front overflap which wraps around the front of the folder.


So, here is my finished creation...


And this is how I did it....

First I painted the folder, both front and back with Itsy Bitsy white 2 in 1 Gesso Mixed Media Paste. 


I worked on small areas at a time as the overall size of the folder was so big.  I painted a section of the folder with a light wash of Itsy Bitsy Misty Fog Chalk Paint and then added torn pieces of the Touch Of Nature Decoupage Paper with Craft Glue.


I continued to add the Misty Fog paint and brought in another colour which was the Sailing Sky Chalk Paint.  Then added some Texture Sand.


And Mixed Media Art Stones.


I added some more texture using the Floral and Net stencils and Mixed Media Paste.


I wanted to create a matt background with a mix of colours so continued to add and blend the chalk paints.  But I also wanted to add some shine, so chose the Tinted Metallic Paints. I applied a small amount of the Caribbean Teal Tinted Metallic paint over the top of the stencilled Mixed Media Paste with my finger using it more like a wax than a paint.


Using the Primed Chipboard 'Making Memories Everyday' piece. I painted it with  Caribbean Teal and Silver Charm Tinted Metallic Paints and attached it to the front of the folder.


I then painted the rest of the folder, both the back and inside with the chalk paints.


Thanks for popping by the blog today to see my creation.
Toodles for now. Lisa x