Showing posts with label sisal. Show all posts

Saturday, 10 March 2018

Stencils in Bloom @ The Artistic Stamper

Hi folks and welcome to my blog post for The Artist Stamper. 
This week the theme puts The Artistic Stamper stencils in the spotlight. 
I chose the 6 x 6 random dots stencil to use for this project.


I coloured the background of a white piece of card with Distress Oxide Inks then used the random dots mask with some white texture paste, which I coloured with one of the inks I used for the background.


I used the same mask with more texture paste on a small greyboard tag and added colour with the ink


I coloured some flowers with the Oxide Inks and added them to the tag with some sisal.


I stamped the word 'bloom' with the decay alphabet stamp set on to a white piece of card then inked the edges to match the colour palette.


Thanks for popping by my blog today. 
Leave a comment if you wish, I love to hear your thoughts. 
Toodles for now,
Lisa xxx 


Here are The Artistic Stamper products I used... which are available on the website.


The Artistic Stamper Mask- Random Dots 6" x 6"     Decay Alphabet lower case size A5 (cut out and mounted on cling cushioning)

Wednesday, 10 January 2018

Time to Dream @ The Artistic Stamper

Hello folks and welcome to my post for 
January is an 'Anything Goes' month. 
If you would like to join in with the challenge, here is the link to The Artistic Stamper Creative Team Blog.

Here is my creation...


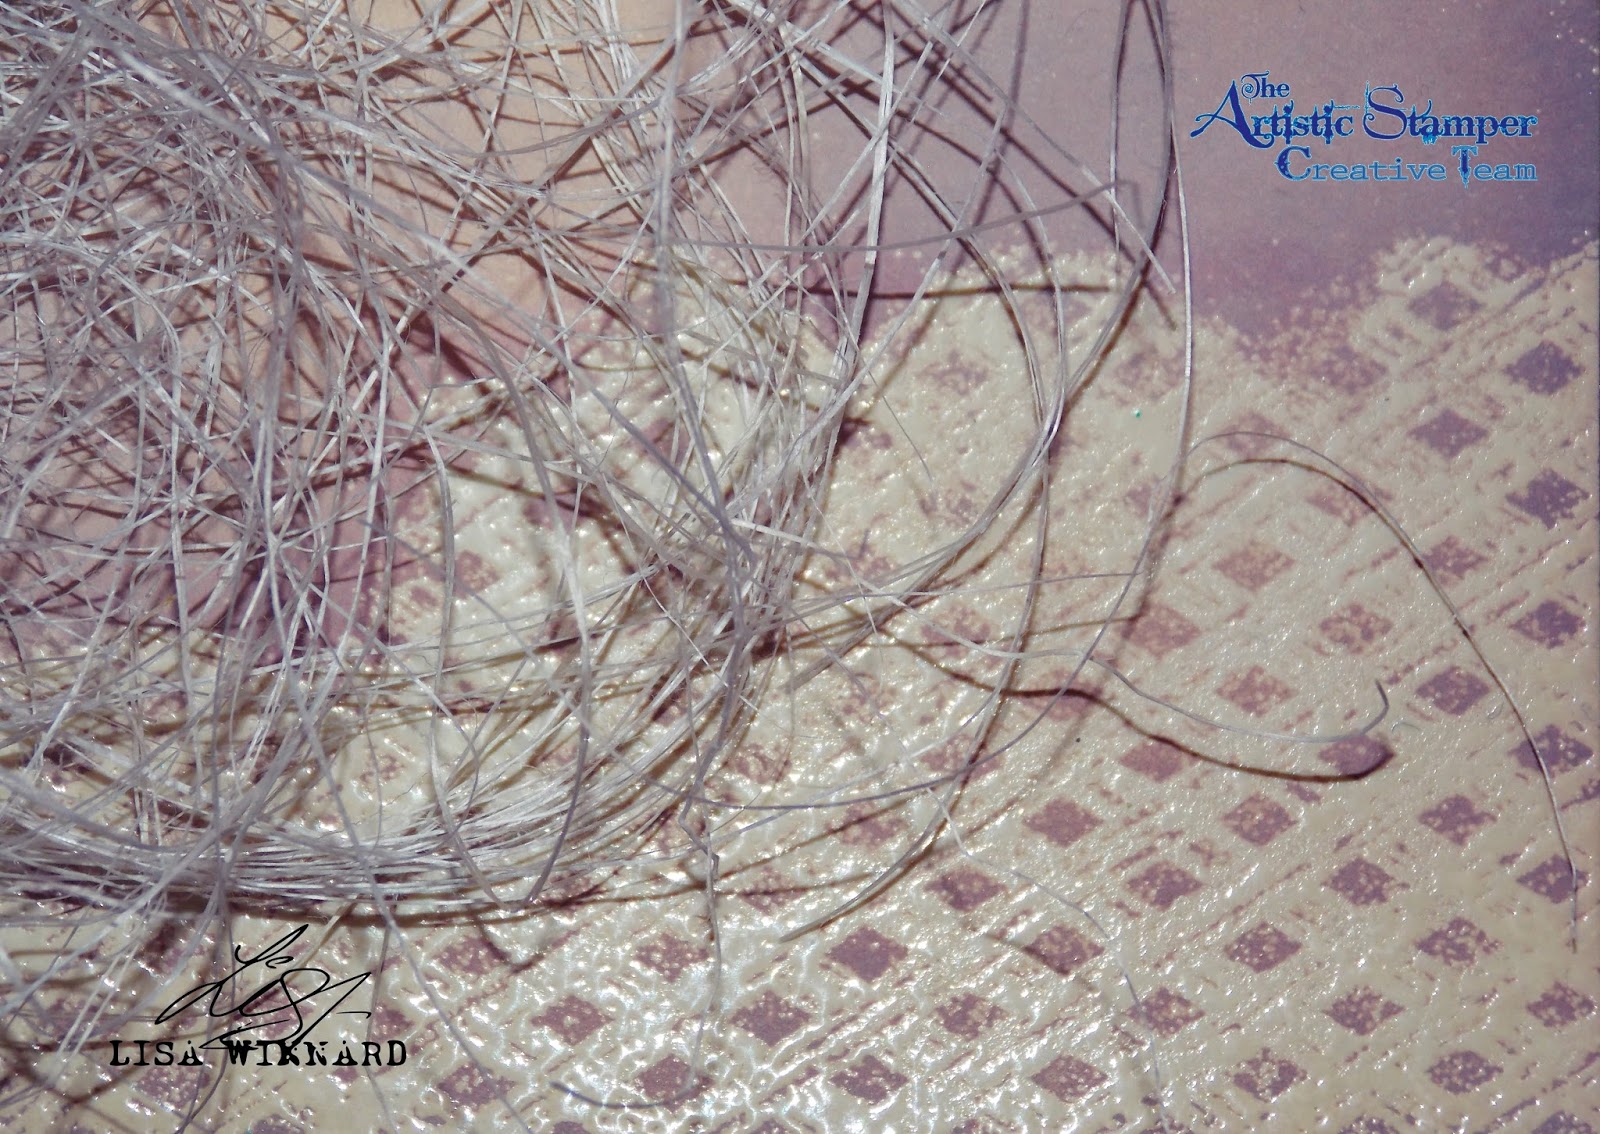
First, I cut a piece of white card to 8" x 8" and inked the whole surface with Antique Linen Distress Oxide Ink. I stamped the cross hatch stamp, from the Mini Backgrounds 3 stamp set, with clear ink along the bottom of the card. I applied clear embossing powder and heat embossed it. Then repeated on the opposite end of the card. 


I then inked the whole surface of the card with Vintage Photo Distress Oxide Ink.

Next, I stamped the girl with clock stamp four times on to white card with Walnut Stain Distress Oxide Ink.
I fussy cut the whole image twice, then with the other two stamped images, I fussy cut the area with just the girl and her dress. 


I inked the cut out stamped images with Vintage Photo and Picked Raspberries Oxide Ink.


On the top clock layer I inked the whole surface with clear ink and added a triple layer of clear embossing powder to give a shiny surface to the clock. 


To add some texture to the image, I adhered some Sisal in between the layers of the stamped images. 


And I wanted the Sisal to replicate the textures and layers in the dress.


To finish, I stamped letters for the quote from the Decay Alphabet (lower case) stamp set on to white card with Walnut Stain Distress Oxide Ink and cut them out. I inked around each letter with Vintage Photo Distress Oxide Ink.


Here are the stamps from The Artistic Stamper I used to create this make.


MIni Backgrounds # 3 size A6  ( cut and  mounted on cling cushioning )   Girl with clock 7cm x 10 cm (cut out and mounted on cling cushioning)   Decay Alphabet lower case size A5 (cut out and mounted on cling cushioning)


Thanks for popping by my blog today. Leave a comment if you wish, I love to read what you think.
Toodles for now, 
Lisa x