Showing posts with label Distress Oxide ink. Show all posts

Thursday, 26 July 2018

Distressed in Time

Hi folks, welcome to my post for The Artistic Stamper. This month's theme is 'distress', my favourite theme! 


The Artistic Stamper products I used was the Girl with Clock stamp and Random Dots 6 x 6 Stencil.

I first created the background using the stencil and Distress Oxide inks. 


I stamped around the edges of the background using just the clock part of the stamp. Then stamped in areas using one of the stamps from the Mini Backgrounds #3 stamp set. 

I stamped the Girl With Clock stamp on to acetate and painted the reverse of the acetate with white acrylic paint. 


I then painted some ball head pins with black gesso.

I mounted the acetate piece on a double layer of foam pads and pinned the painted pins in to the foam.


Thanks for popping by my blog today.
Toodles for now, 
Lisa.


Collage & Retro    MIni Backgrounds # 3 size A6  ( cut and  mounted on cling cushioning )        The Artistic Stamper Mask- Random Dots 6" x 6"


Sunday, 24 June 2018

Colour it Blue

Hi folks, today I am posting for 
The Artistic Stamper. 
The theme this month is 'Colour it Blue' which for me, is quite "normal" as blue tends to be the most popular colour I go to. (mmmm.... I think I need to stop doing that...


I chose the fabulously crazy Birdz stamp set by Neil Walker to play with. Along with a selection of 3 x 3 stencils and a selection of blue Oxide Distress Inks. 

I first used the stencils with the selection of blue inks on white card creating a background.


I then stamped the Birdz and coloured them in with the Oxide inks and water.


I then stamped the phrase 'free as a bird' using The Artistic Stamper Decay Alphabet stamp set. 


Everything I used is below and available on The Artistic Stamper Website.

Thanks for popping by.
Toodles for now,
Lisa xxx


Birdz Set A6  © Neil Walker (cut out and mounted on cling cushioning)       Decay Alphabet lower case size A5 (cut out and mounted on cling cushioning)      The Artistic Stamper Mask Harlequin 3" X 3"   The Artistic Stamper Mask Chevron 3" X 3"   The Artistic Stamper Mask Sequin Waste 3" X 3"

Sunday, 14 January 2018

Faux Metal @ Tando

Hi folks and welcome to my blog post for Tando. This week we have been faking it, or rather faux-ing it! Faux metal is the theme. 

And here is my creation...


I used one of the tags from the Tando tags mega bundle and gave it a coat of DecoArt white Gesso.

I added a good thick layer of DecoArt Texture Sand paste around the edges of the tag and allowed it to dry. 


I painted the tag with the new DecoArt Americana Premium Acrylic Paints using Quinacridone Gold, Paynes Grey, Pyrrole Red, Cobalt Turquoise, Diarylide Yellow.


I stamped the Technique Tuesday Scritch Scratch stamp with Walnut Distress Oxide ink in random areas over the tag to add some texture.


I used one of the stamps from Andy Skinner's Unexplained stamp set and stamped it along the edge of the stamp with Walnut Stain Distress Oxide ink then over the top with Onyx Black Versafine ink. 


To finish, I wrapped so rusty coloured twine around the hole of the tag.


Here is everything I used...


UNEXPLAINED rubber stamp setQuinacridone Gold Premium    Paynes Grey Premium    Pyrrole Red Premium    Cobalt Turquoise Premium    Diarylide Yellow Premium   Image result for technique tuesday stamps scratch

Thanks for popping by my blog today, leave me a comment if you wish, I love to hear what you think.
Toodles for now,
Lisa x 


I would like to enter this creation in to the following challenges...
SASPC - Anything Goes
Craft Stamper - Take It Make It January Challenge 

Wednesday, 10 January 2018

Time to Dream @ The Artistic Stamper

Hello folks and welcome to my post for 
January is an 'Anything Goes' month. 
If you would like to join in with the challenge, here is the link to The Artistic Stamper Creative Team Blog.

Here is my creation...


First, I cut a piece of white card to 8" x 8" and inked the whole surface with Antique Linen Distress Oxide Ink. I stamped the cross hatch stamp, from the Mini Backgrounds 3 stamp set, with clear ink along the bottom of the card. I applied clear embossing powder and heat embossed it. Then repeated on the opposite end of the card. 


I then inked the whole surface of the card with Vintage Photo Distress Oxide Ink.

Next, I stamped the girl with clock stamp four times on to white card with Walnut Stain Distress Oxide Ink.
I fussy cut the whole image twice, then with the other two stamped images, I fussy cut the area with just the girl and her dress. 


I inked the cut out stamped images with Vintage Photo and Picked Raspberries Oxide Ink.


On the top clock layer I inked the whole surface with clear ink and added a triple layer of clear embossing powder to give a shiny surface to the clock. 


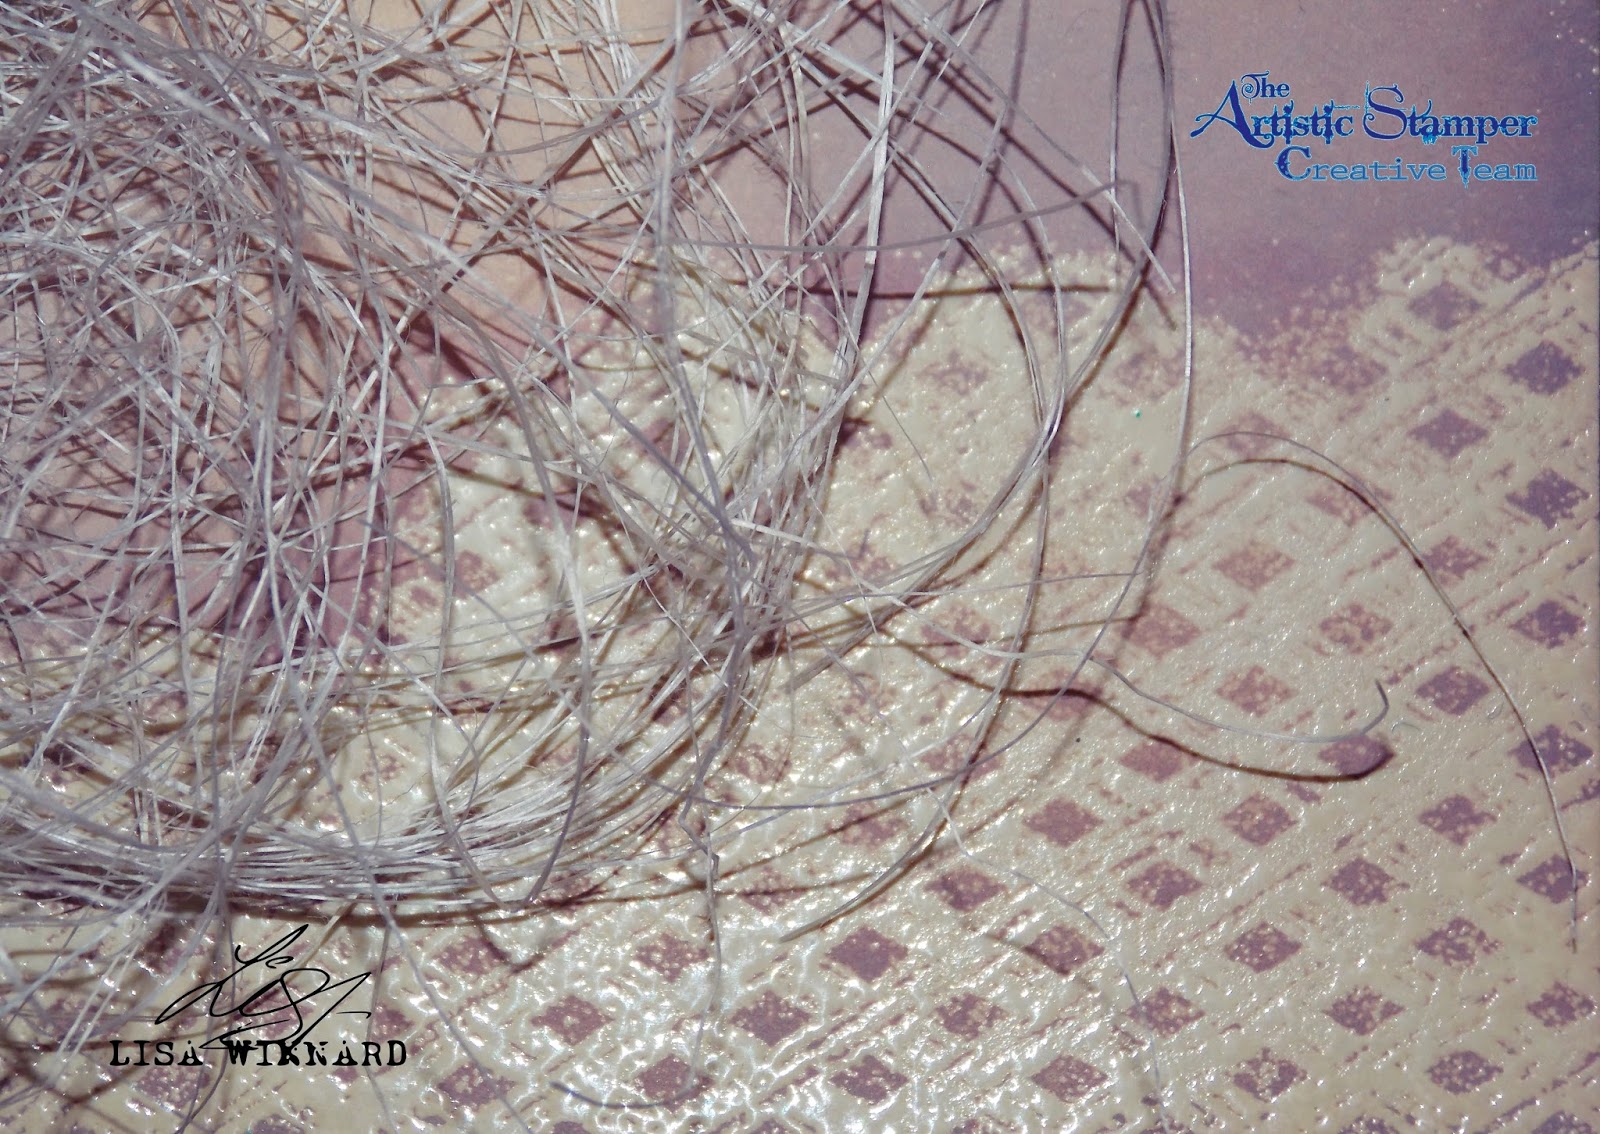
To add some texture to the image, I adhered some Sisal in between the layers of the stamped images. 


And I wanted the Sisal to replicate the textures and layers in the dress.


To finish, I stamped letters for the quote from the Decay Alphabet (lower case) stamp set on to white card with Walnut Stain Distress Oxide Ink and cut them out. I inked around each letter with Vintage Photo Distress Oxide Ink.


Here are the stamps from The Artistic Stamper I used to create this make.


MIni Backgrounds # 3 size A6  ( cut and  mounted on cling cushioning )   Girl with clock 7cm x 10 cm (cut out and mounted on cling cushioning)   Decay Alphabet lower case size A5 (cut out and mounted on cling cushioning)


Thanks for popping by my blog today. Leave a comment if you wish, I love to read what you think.
Toodles for now, 
Lisa x 

Sunday, 19 November 2017

Anything Goes @ Tando

Hi folks and welcome to my blog post. This week over at Tando is an 'Anything Goes' week.

With it being nearly Christmas.... And you can never have enough Christmas Trees can you??? So....


Here is my creation...


I first painted all the pieces with white Gesso. Then mixed a bluey green colour using DecoArt Fluid Acrylics - Cobalt Turquoise Hue, Phthaol Green-Blue and Primary Cyan


When the first layer of paint was dry, I dry brushed the tree with DecoArt Primary Cyan Media Fluid Acrylic.


I then randomly stamped areas of the tree with Broken China Distress Oxide ink and one of the stamps from the Mini Backgrounds #1 stamp set from The Artistic Stamper.


I took a selection of Tando Mini's including parcels and bows, ice skates, candles, brush stroke trees and snowflakes
I applied clear embossing ink on the front and back of each mini and heat embossed with Stampendous Shabby Green Embossing Enamel
I did the same with the star on top of the tree. 


When the enamel had cooled, I adhered the mini's to the tree. 


I then put all the pieces together to make the tree stand. To finish, I added some battery powered lights to the centre of the tree. 


Thanks for popping by my blog today. 
Leave a comment if you wish as I love to hear your thoughts.
Toodles for now,
Lisa xxx


Brush Stroke Trees   Tando Mini's - Candles   Tando Mini's Bells and Holly   Tando Mini's Snowflakes   Tando Minis Ice Skates   Tando Mini's Parcels and Bows   Fluid Acrylics: Cobalt Turquoise   Fluid Acrylics: Phthaol Green-Blue   Fluid Acrylics: Primary Cyan      Mini Backgrounds #1  size A6 (cut out and mounted on cling cushioning)   Image result for stampendous embossing enamel shabby green