Showing posts with label primed chipboard. Show all posts

Saturday, 30 June 2018

I Just Want To Make Nice Things.....

Hi lovelies. Today's post is for Itsy Bitsy and I again, get to have fun playing with their stunningly gorgeous products which are growing by the minute. 

The team is concentrating on the beautiful chalk paints which are just brilliant and come in a rainbow of colours. 
I chose a 8" x 8" piece of greyboard to work on as I needed a sturdy background to add lots of lovely Itsy Bitsy mixed media products to. 

So... here is what I created....


I chose an 8" x 8" piece of greyboard to work on as I needed a sturdy background to add lots of lovely Itsy Bitsy mixed media products to.

I covered the greyboard with Little Birdie white textured cardstock using Little Birdie Craft glue. I then ripped up a sheet of the Little Birdie Vintage Reflections paper and glued bits of it to the base using the craft glue.


I added some texture using a stencil and Little Birdie Mixed Media Paste.


I then added more texture using Grainy Texture Paste applying it with my finger.


And added even more texture using the craft glue and Texture Sand.


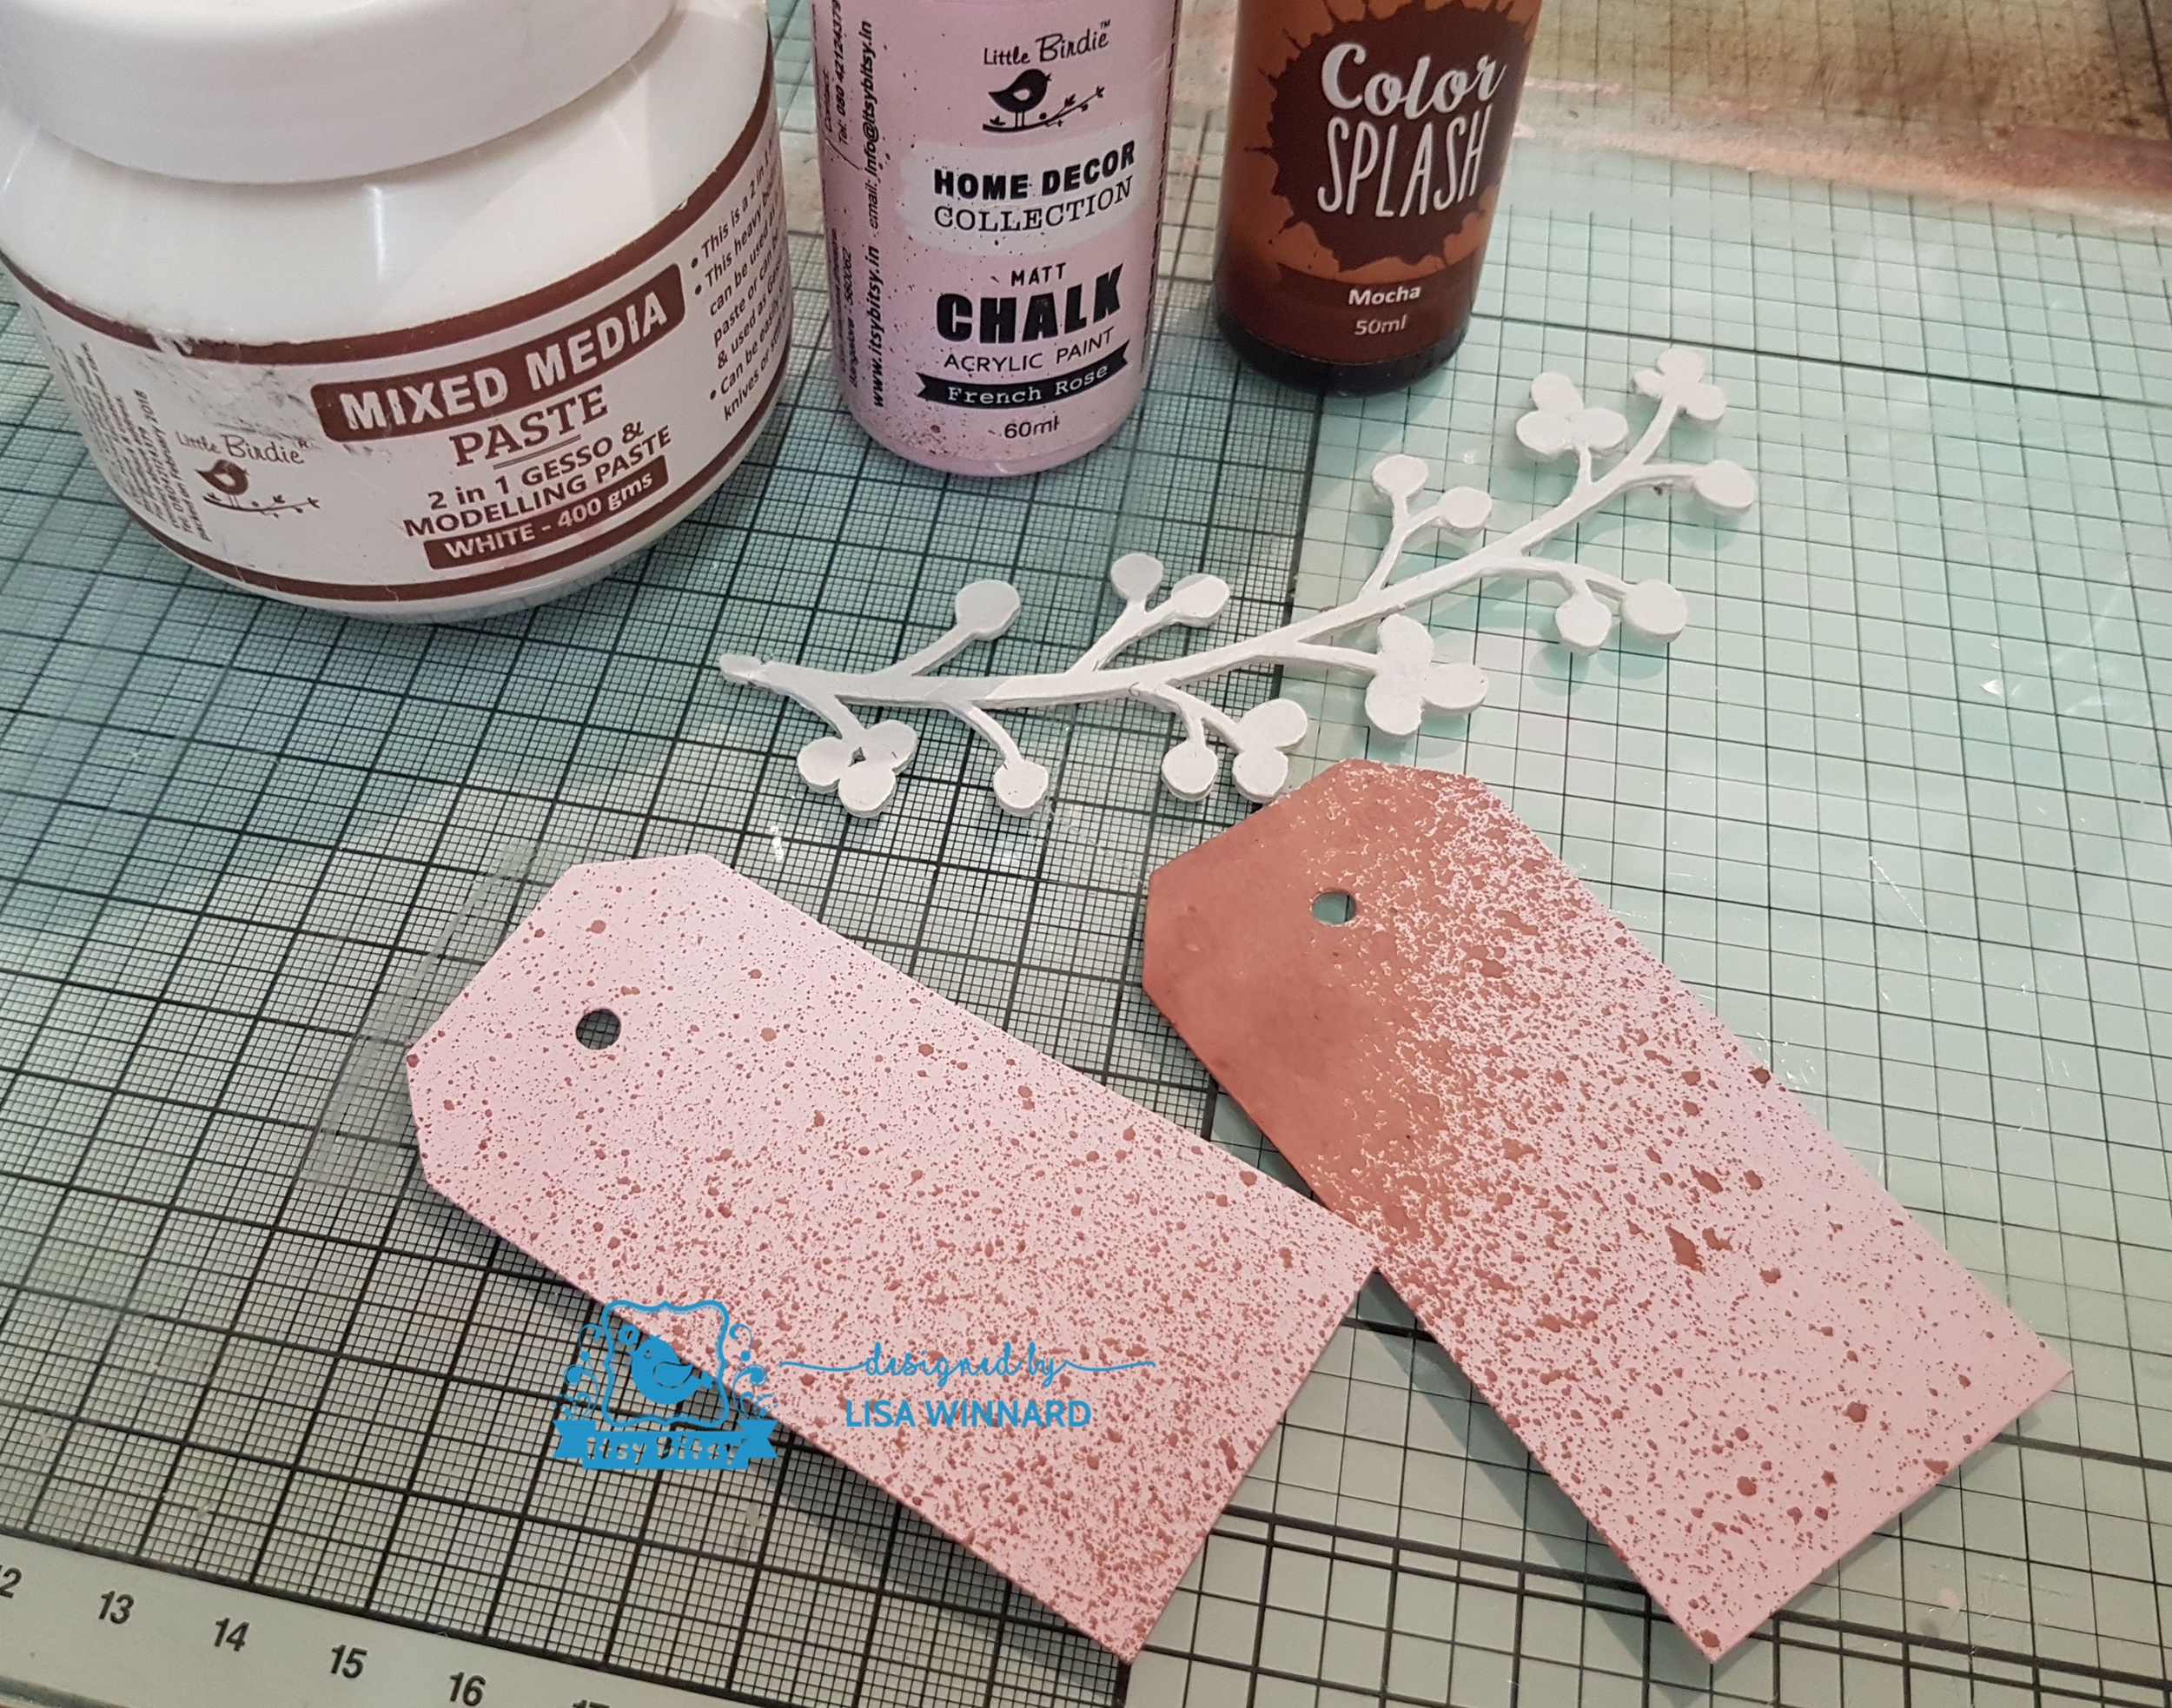
When everything had dried, I painted the base using Little Birdie French Rose Chalk Paint. Then spraying with Mocha Colour Wash.


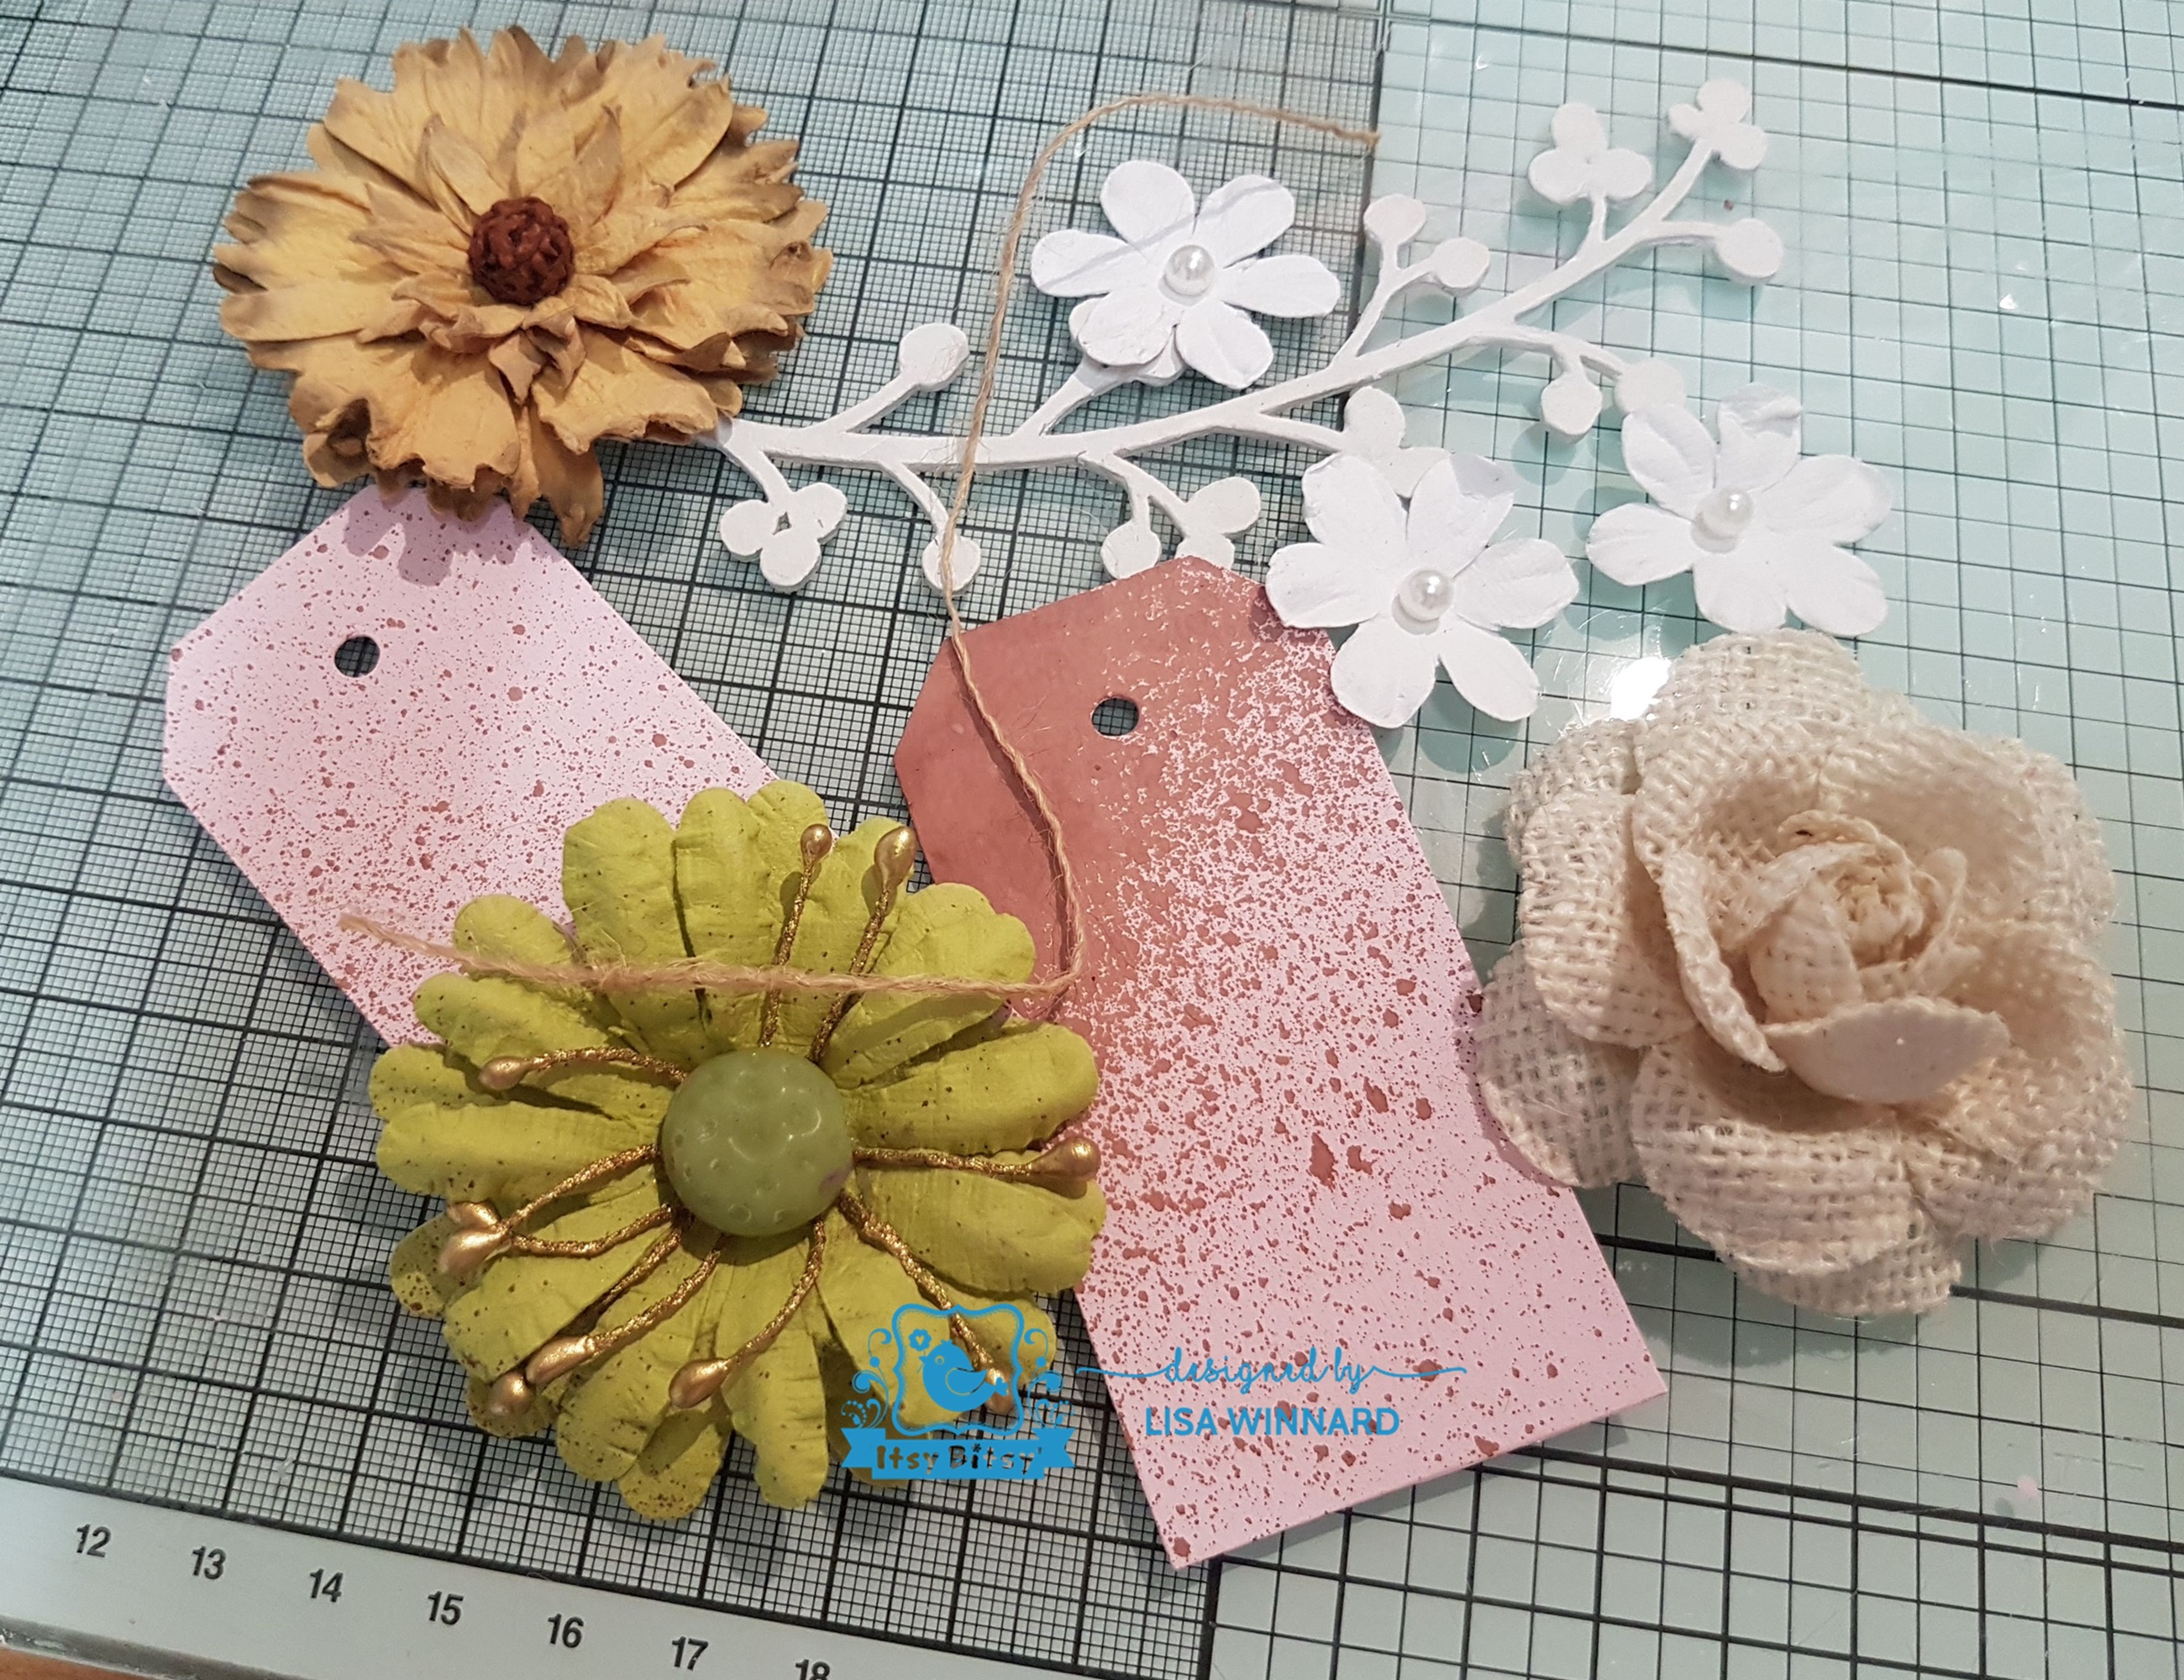
I painted one of the chipboard pieces from the Primed Chipboard Winter Berry pack white and two mini tags with the chalk paint and added a little of the Mocha Colour Wash to the tags.


I gathered the tags, chipboard piece and Little Birdie flowers and arranged them on the base. And a Tim Holtz words sticker.


Here are a few close ups....


Thanks for popping by my blog. Leave a comment if you wish, I love to hear your thoughts.
Toodles for now, Lisa xxx


Tuesday, 22 May 2018

The Girl in the Frame with Itsy Bitsy

Hello lovely peeps and welcome to my second project for Itsy Bitsy.
I've called this project 'The Girl in the Frame'.


I used lots of Itsy Bitsy mixed media products for this project to build up some fabulous texture.

Here is the step by step process...


I started with a 12 inch square piece of greyboard as it is a good base to apply lots of different mediums to.
I tore a 12 inch square of Little Birdie textured card in to strips then glued them to the centre of the greyboard square.


I then cut pieces from the burlap roll in to strips pulling apart the fibres to create holes, then glued it around the edges of the greyboard using the matte gel medium. 


When everything had dried, I gave everything a coat of the white 2-in-1 Gesso and modelling paste.


Next, I added some colour using blue and lime Little Birdie colour splash. I then added some more of the 2-in-1 Gesso over the centrecentre, allowed it to dry, then added splashes of the Little Birdie Gold Soot Alcohol Splash.


I placed half a teaspoon of mixed media stones on to a acrylic block and added a couple of drops of Golden Soot Gold Alcohol Splash, mixed the stones and left to dry.


I coloured the Primed Chipboard Hearty Circle with Black Soot Alcohol Splash.


I found a couple of old photography film negatives and distressed them, then added some white mixed media 2 in 1 gesso and modelling paste.


I took a black and white photograph , distressed it then used the Two Step Crackle Medium over the top.


Making sure the base was dry, I added some splashes of the Golden Soot Gold Alcohol Splash then added all the other elements and added some Little Birdie Flowers – Jacey handmade florets and Sea Foam Dew Drops.


Here is the finished piece...


And some close-ups...


Thanks for popping by my blog today to have a toot at my Itsy Bitsy Design Team project.
Toodles for now,
Lisa xxx 


If you would like a toot at my project on the Itsy Bitsy blog, here is the link... 

Here are all the Itsy Bitsy products I used which are all available on the Itsy Bitsy website.