Showing posts with label Tim Holtz. Show all posts

Saturday, 30 June 2018

I Just Want To Make Nice Things.....

Hi lovelies. Today's post is for Itsy Bitsy and I again, get to have fun playing with their stunningly gorgeous products which are growing by the minute. 

The team is concentrating on the beautiful chalk paints which are just brilliant and come in a rainbow of colours. 
I chose a 8" x 8" piece of greyboard to work on as I needed a sturdy background to add lots of lovely Itsy Bitsy mixed media products to. 

So... here is what I created....


I chose an 8" x 8" piece of greyboard to work on as I needed a sturdy background to add lots of lovely Itsy Bitsy mixed media products to.

I covered the greyboard with Little Birdie white textured cardstock using Little Birdie Craft glue. I then ripped up a sheet of the Little Birdie Vintage Reflections paper and glued bits of it to the base using the craft glue.


I added some texture using a stencil and Little Birdie Mixed Media Paste.


I then added more texture using Grainy Texture Paste applying it with my finger.


And added even more texture using the craft glue and Texture Sand.


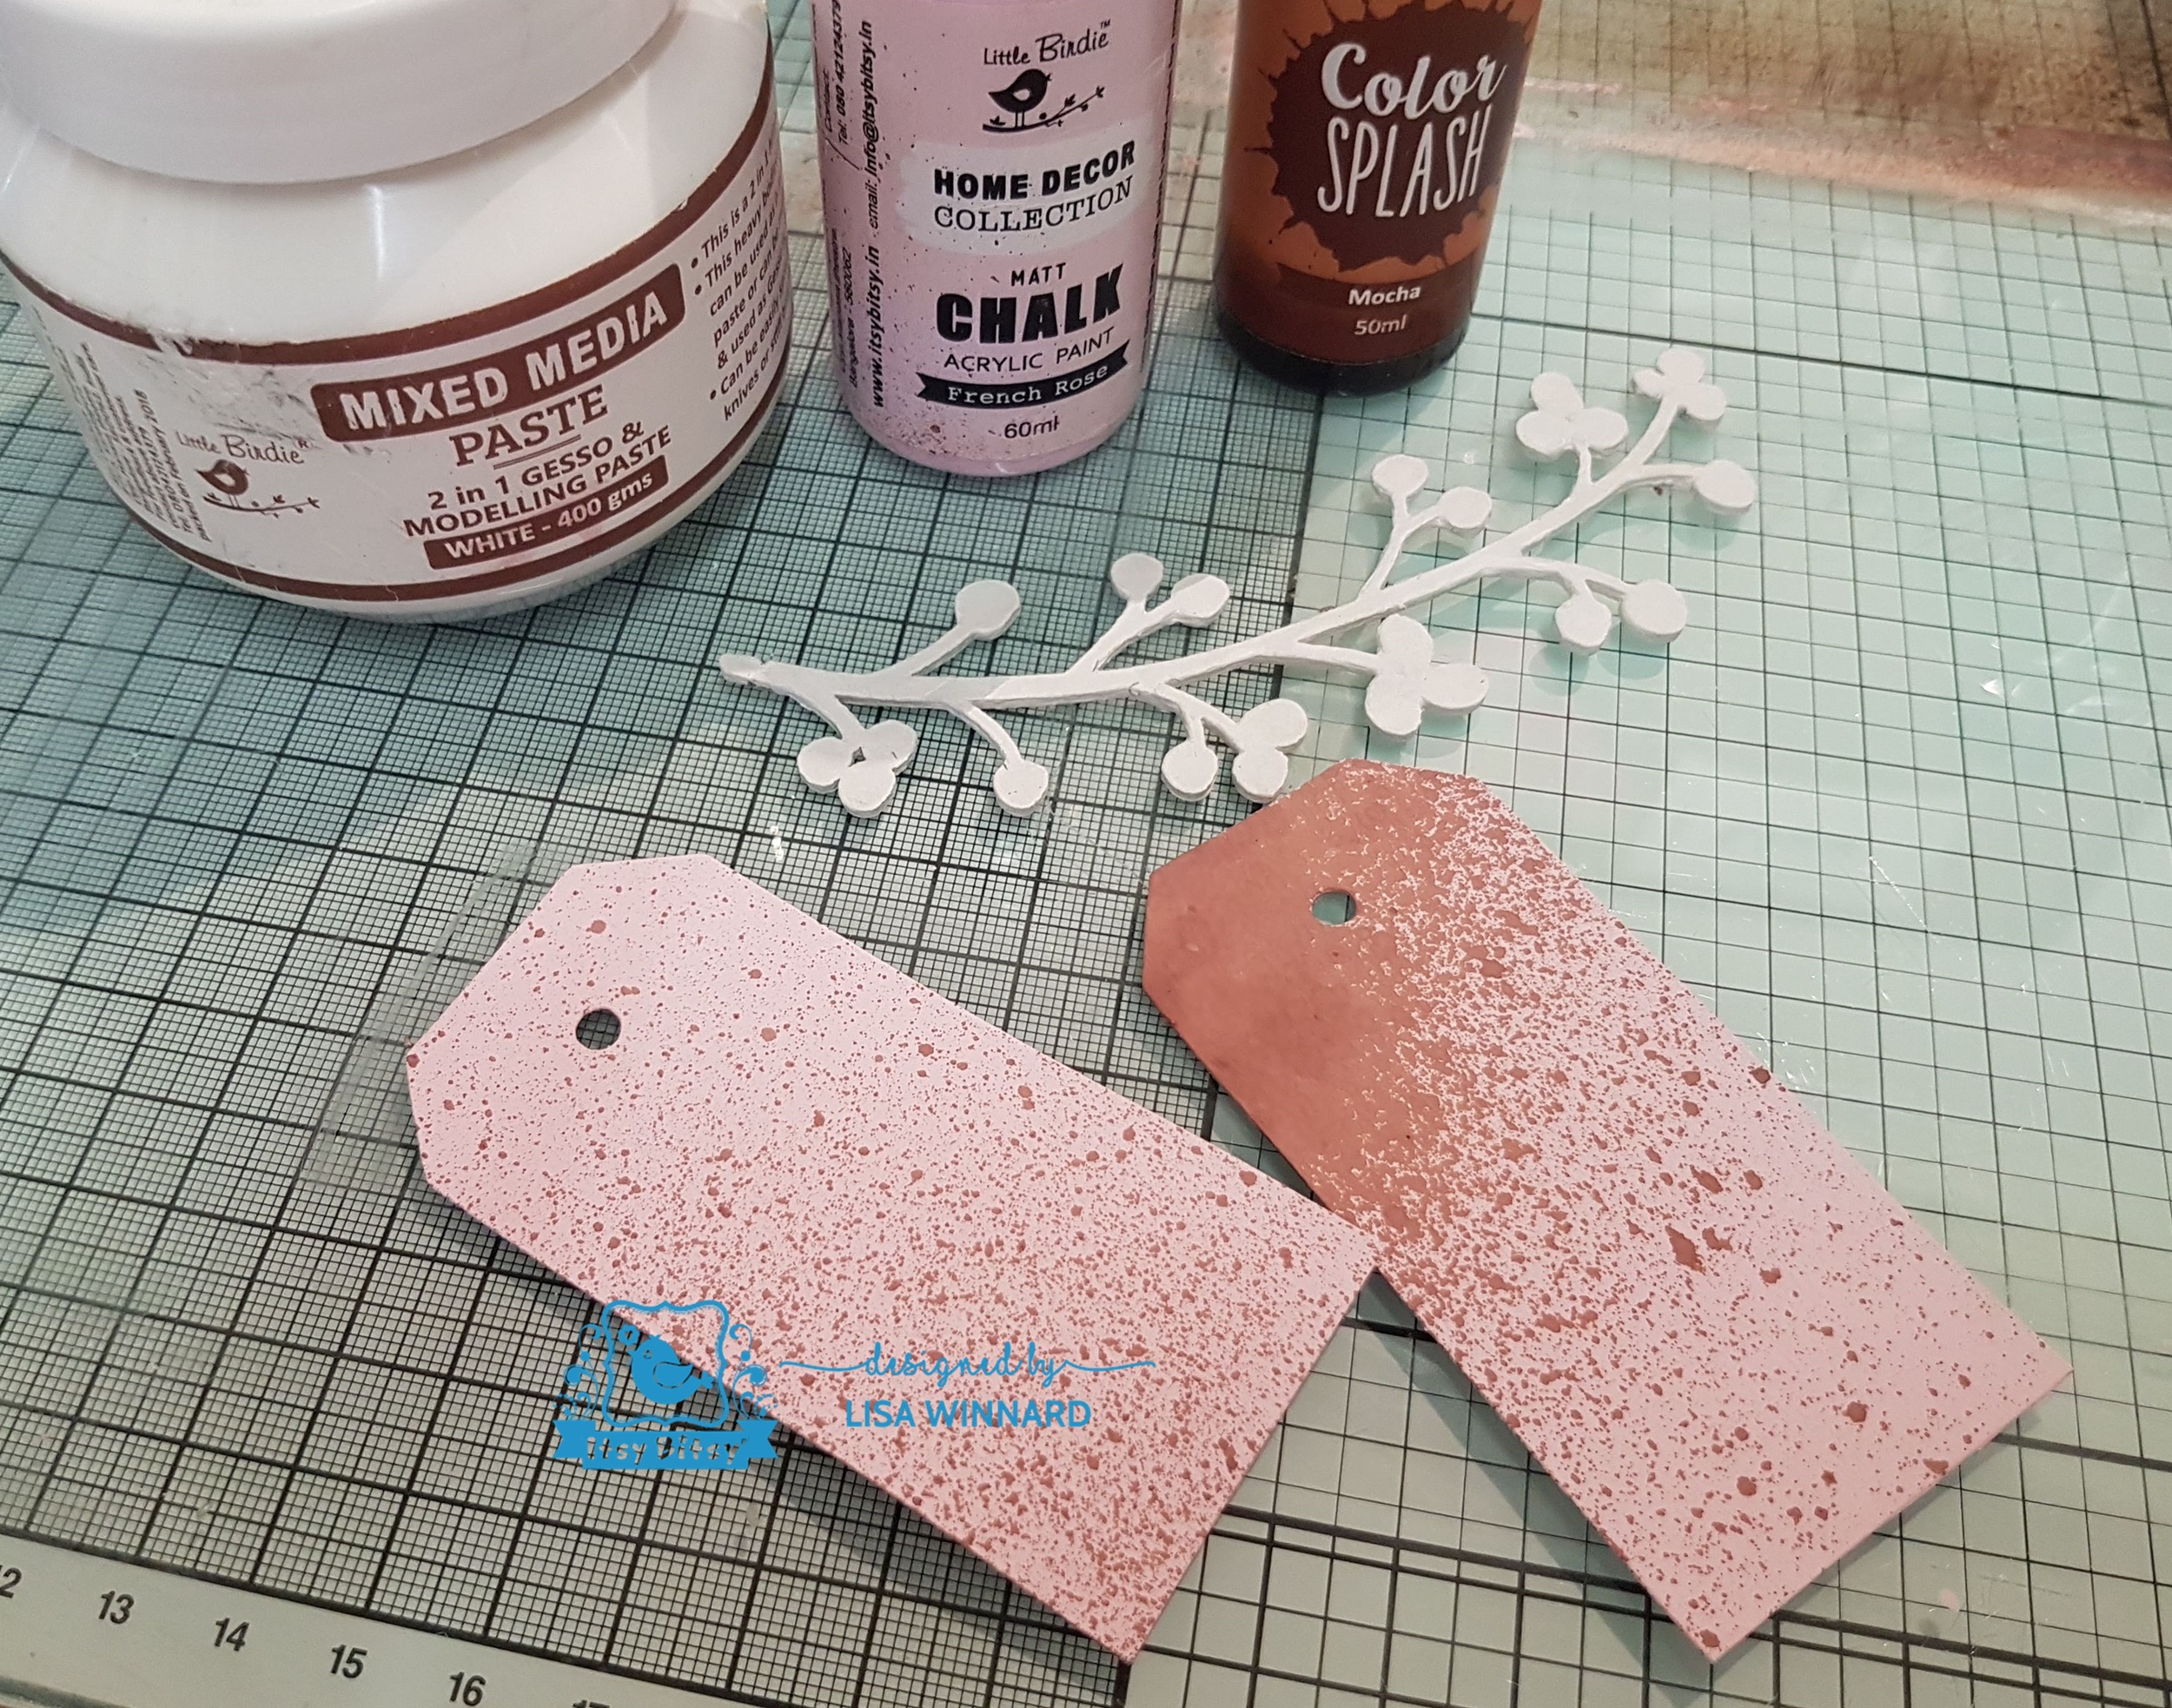
When everything had dried, I painted the base using Little Birdie French Rose Chalk Paint. Then spraying with Mocha Colour Wash.


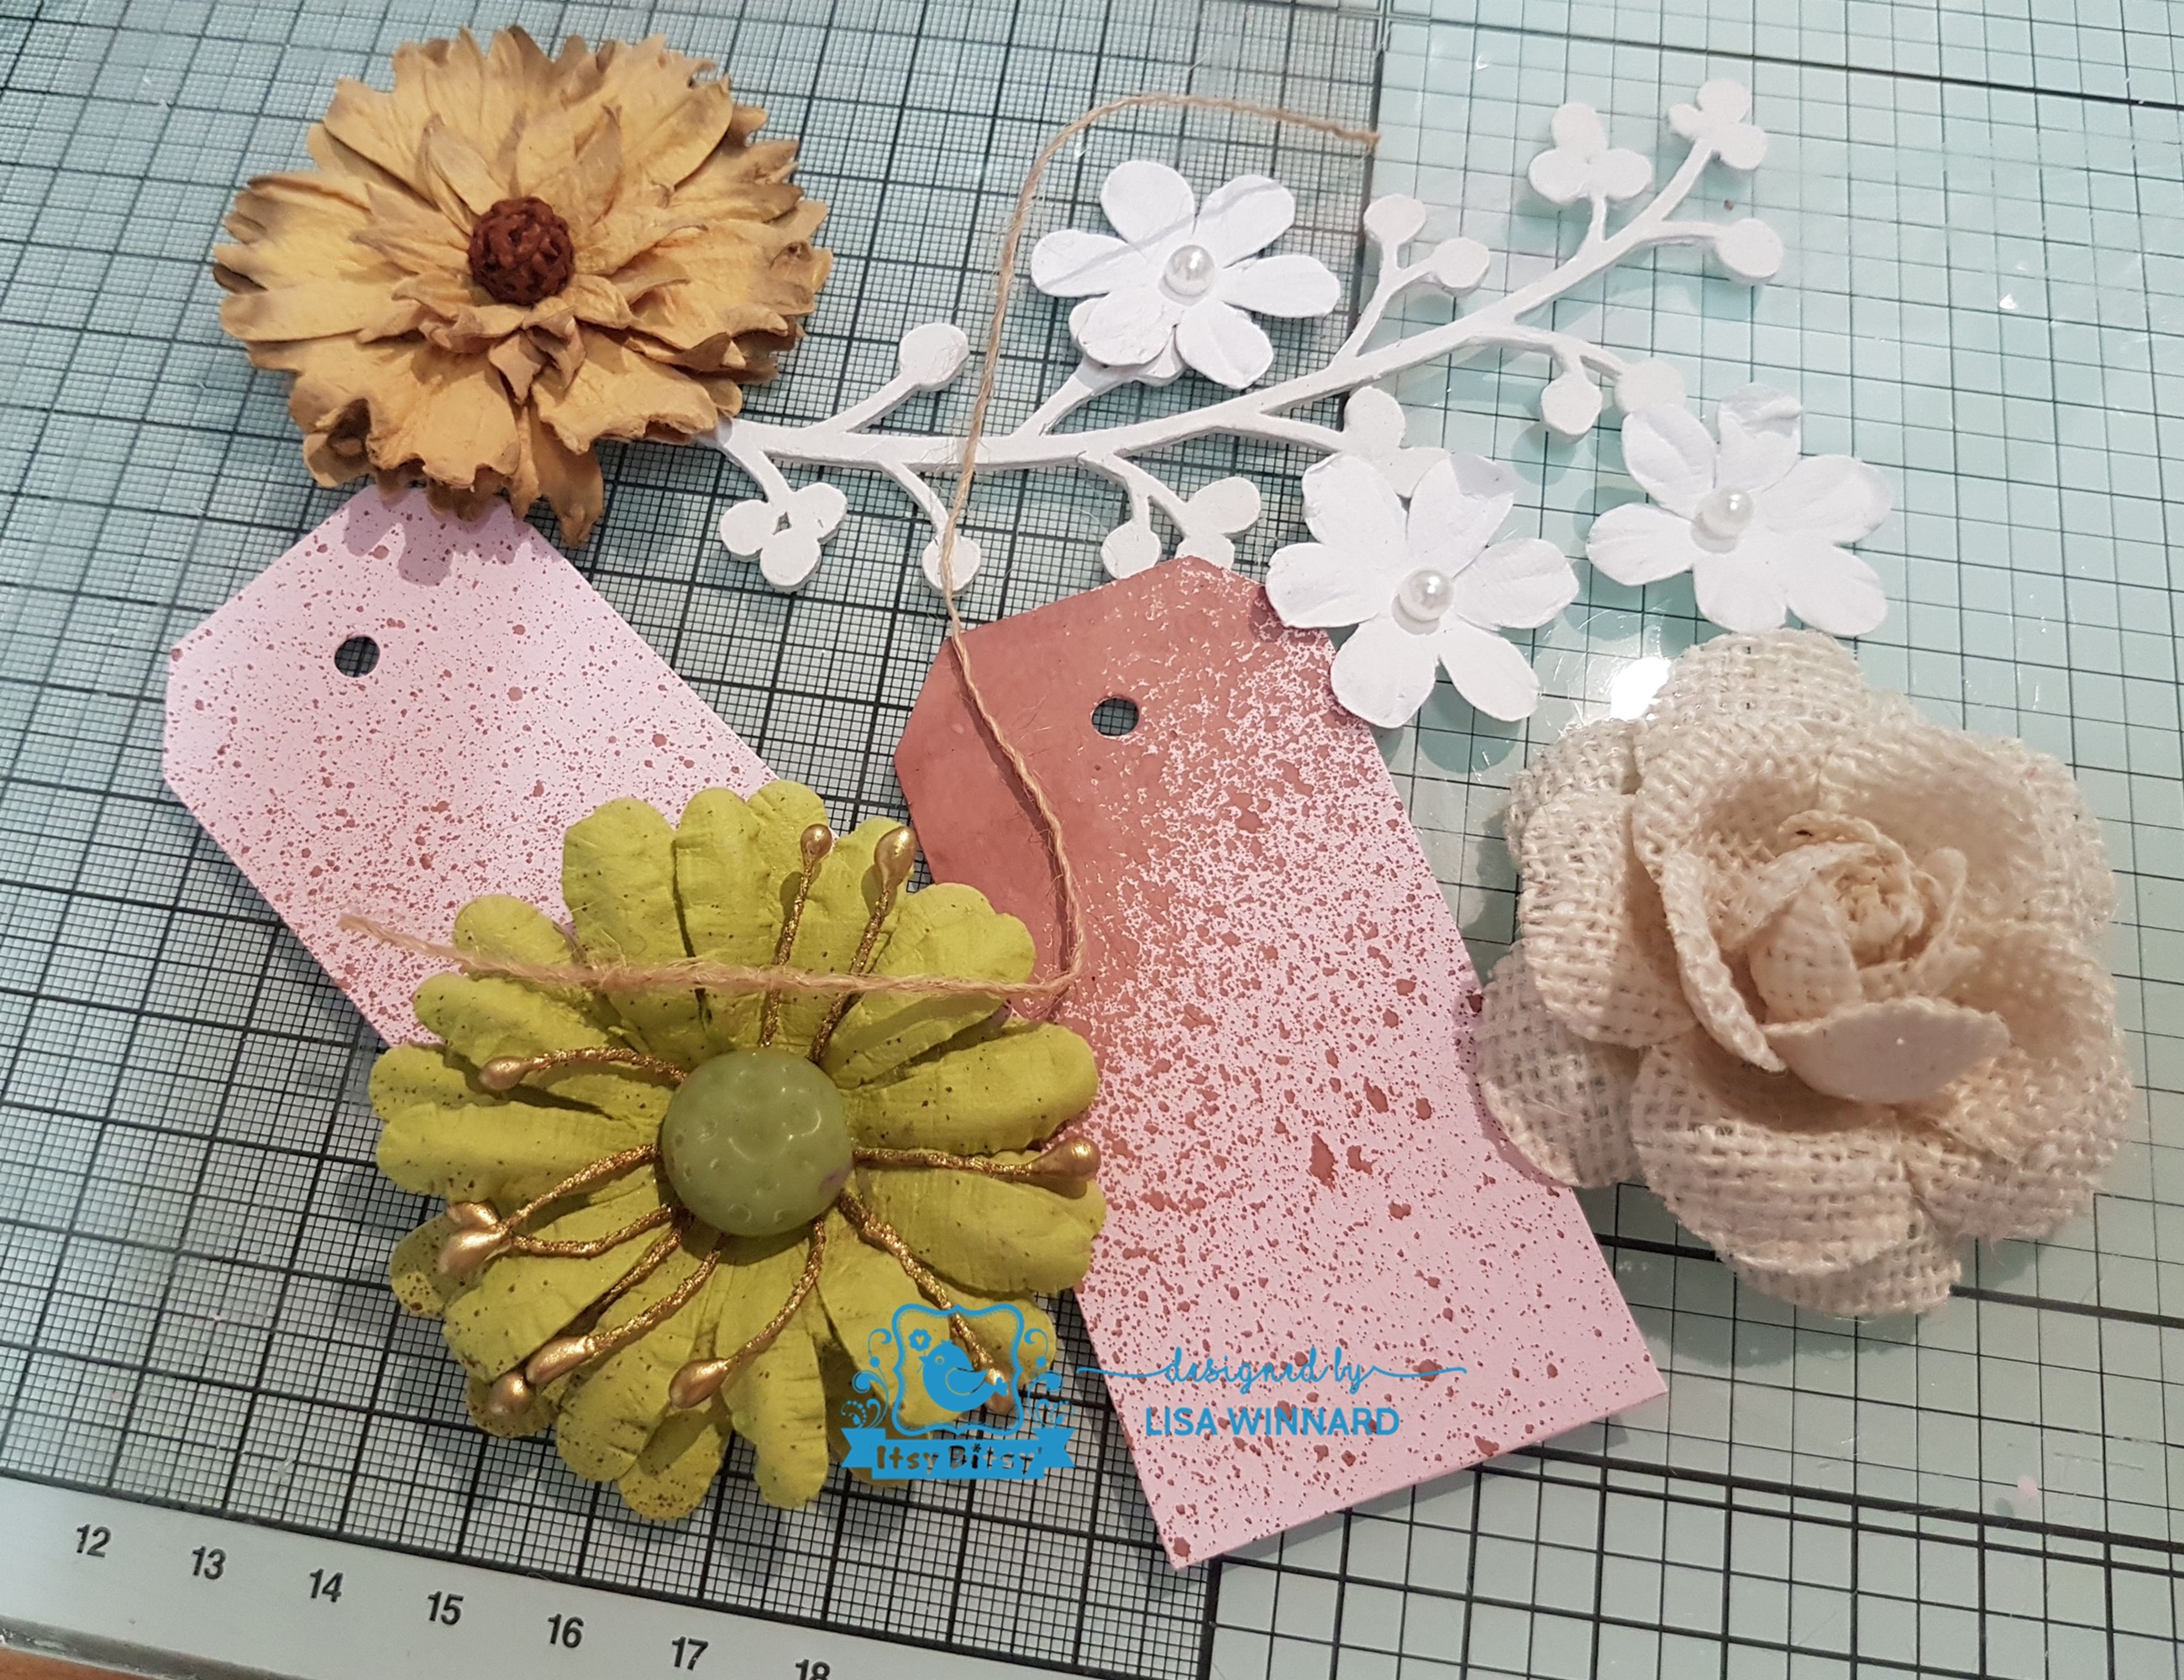
I painted one of the chipboard pieces from the Primed Chipboard Winter Berry pack white and two mini tags with the chalk paint and added a little of the Mocha Colour Wash to the tags.


I gathered the tags, chipboard piece and Little Birdie flowers and arranged them on the base. And a Tim Holtz words sticker.


Here are a few close ups....


Thanks for popping by my blog. Leave a comment if you wish, I love to hear your thoughts.
Toodles for now, Lisa xxx


Friday, 11 May 2018

Creating Backgrounds @ The Artistic Stamper

Hello folks! Welcome to My first post for May for The Artistic Stamper. This month's theme is 'backgrounds'.

The Artist Stamper have a fantastic collection of stamps which can be used for backgrounds. 
I love making my own backgrounds - starting with a white piece of card and adding colours, textures and layers to create a background. 

And this is what I did for this creation...


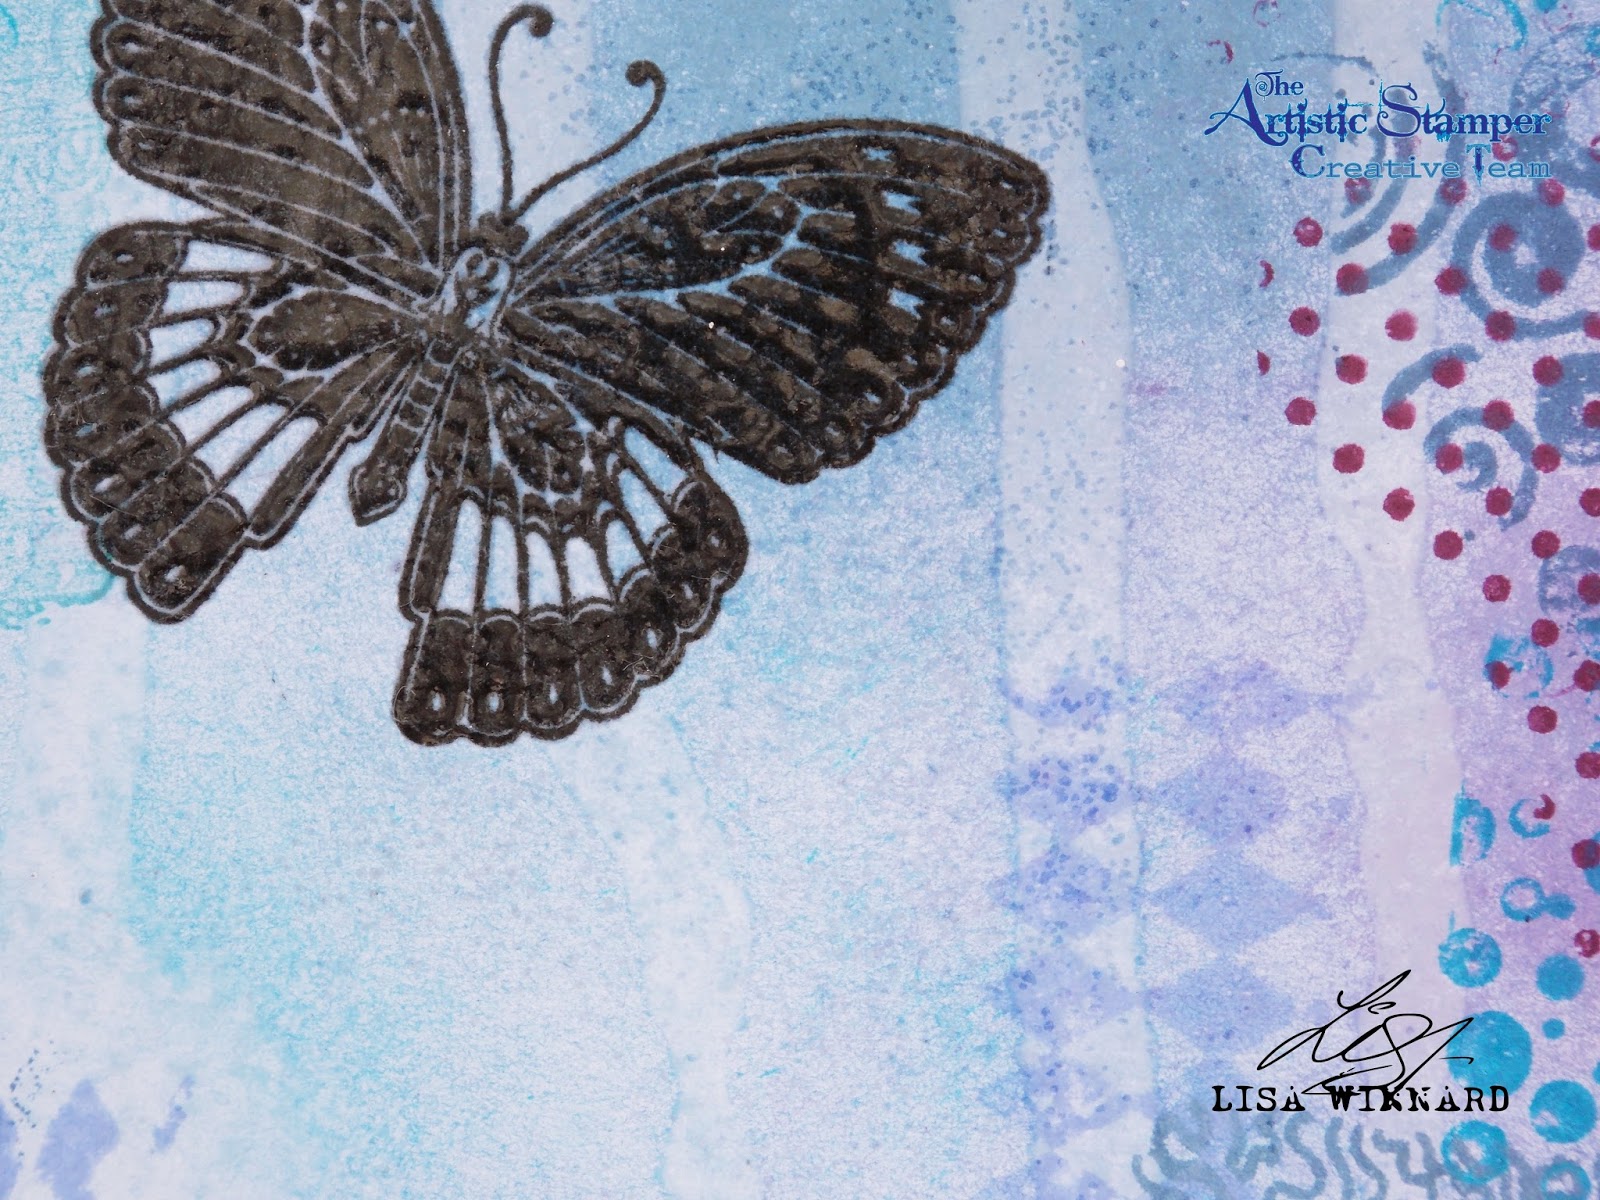
I started with a white piece of card - size 7" x 7" and coloured the white card with a selection of blues and purples Distress Ink. 


I then added a couple of squirts of water and let the water run down the card.


I used The Artistic Stamper Mini Backgrounds A6 stamp set, Mini Backgrounds A6 #1 and Mini Backgrounds A6 #2 by Neil Walker. 
(These stamps do all come as individual A5 stamps. But with the Mini Background set, there are 4 stamps in the set which I find gives me much more variety.)

I used stamps from all three sets and stamped using the same Distress Inks, layering and overstamping the patterns.


I then stamped the butterfly from the Insects and Butterflies A5 stamp set on to the background with black ink. I then heat embossed it with clear embossing powder.


To finish I added a sentiment from the Tim Holtz Advantus Idea-Ology Small Talk sticker.


Thanks for popping by my blog today.
Toodles for now,
Lisa xxx 

Here is everything I used...


Mini Backgrounds #1  size A6 (cut out and mounted on cling cushioning)       Mini Backgrounds # 2 size A6  ( cut and  mounted on cling cushioning )       Mini Backgrounds size A6  © Neil Walker (cut out and mounted on cling cushioning)   Insects and Butterflies 1 A5  (cut out and mounted on cling cushioning)   Image result for tim holtz small talk stickers uk   

I would like to enter this in to the following challenges:
Craft Stamper - "Take It Make It challenge May - anything goes
Stamping Sensations - Sir Stamps A Lot May challenge - "Close To Nature"


Sunday, 21 August 2016

Anything Goes @ Tando

Hi folks and welcome to an Anything Goes week over at Tando. 

This week I chose the Tando Mini Printer Tray 152mm x 152mm with stand and some DecoArt Media products to play with.

Here is my creation...


I used a few different techniques to decorate the Tando printer tray including painting, stamping and a rust technique.


I first gave the printer tray base a good coat of white gesso. Then chose a selection of DecoArt Media fluid acrylic paints to colour the background tray piece. I added multiple layers of colour until I was happy. 


I stamped the background with stamps from Tim Holtz's Sideshow stamp set. 

On the printer tray frame, I applied a layer of DecoArt sand texture paint, then applied DecoArt paint over the top. 


I applied Stampendous Aged Ivory Frantage Embossing Enamel to the Tando Minis Advent Numbers then adhered them in the printer tray sections.


To finish, I adhered the frame part over the printer tray base.


These are the products I used and are available from the Tando website.

Mini Printer Tray 152mm x 152mm with stand   Minis: Advent Numbers


Thanks for popping by, 
Lisa xxx

Sunday, 30 March 2014

Dream.....

Happy Mother's Day..... Today is also the 300th Sunday Stamper challenge on Hels Sheridan's blog. And as an avid stalker fan of Hels I thought I would share this post.

This week the theme was 'include the word "dream"'. Here is what I created.


This is a 10" X 8" MDF plaque which I prepped with gesso and then painted with a neutral coloured emulsion.

I used a few different techniques on this plaque and it is very Hels Sheridan inspired. 

I used a couple of different stencils and inked through them with Distress Inks. Then stamped a floral swirl and crackle background using Indigoblu stamps.

I die cut some flowers using my Tim Holtz tattered floral die from music paper and inked them with Walnut Stain DI. 

I filled a vial and the center of the flowers with black glitter.

I stamped "DREAM" on to card, inked it and made it into a ribbon. 
I added some embellishments and jute twine to finish. 


Thanks for looking today.