Sunday 29 July 2018

Layers

Hello lovelies, today's post is for Tando Creative and this weeks theme is 'layers'.


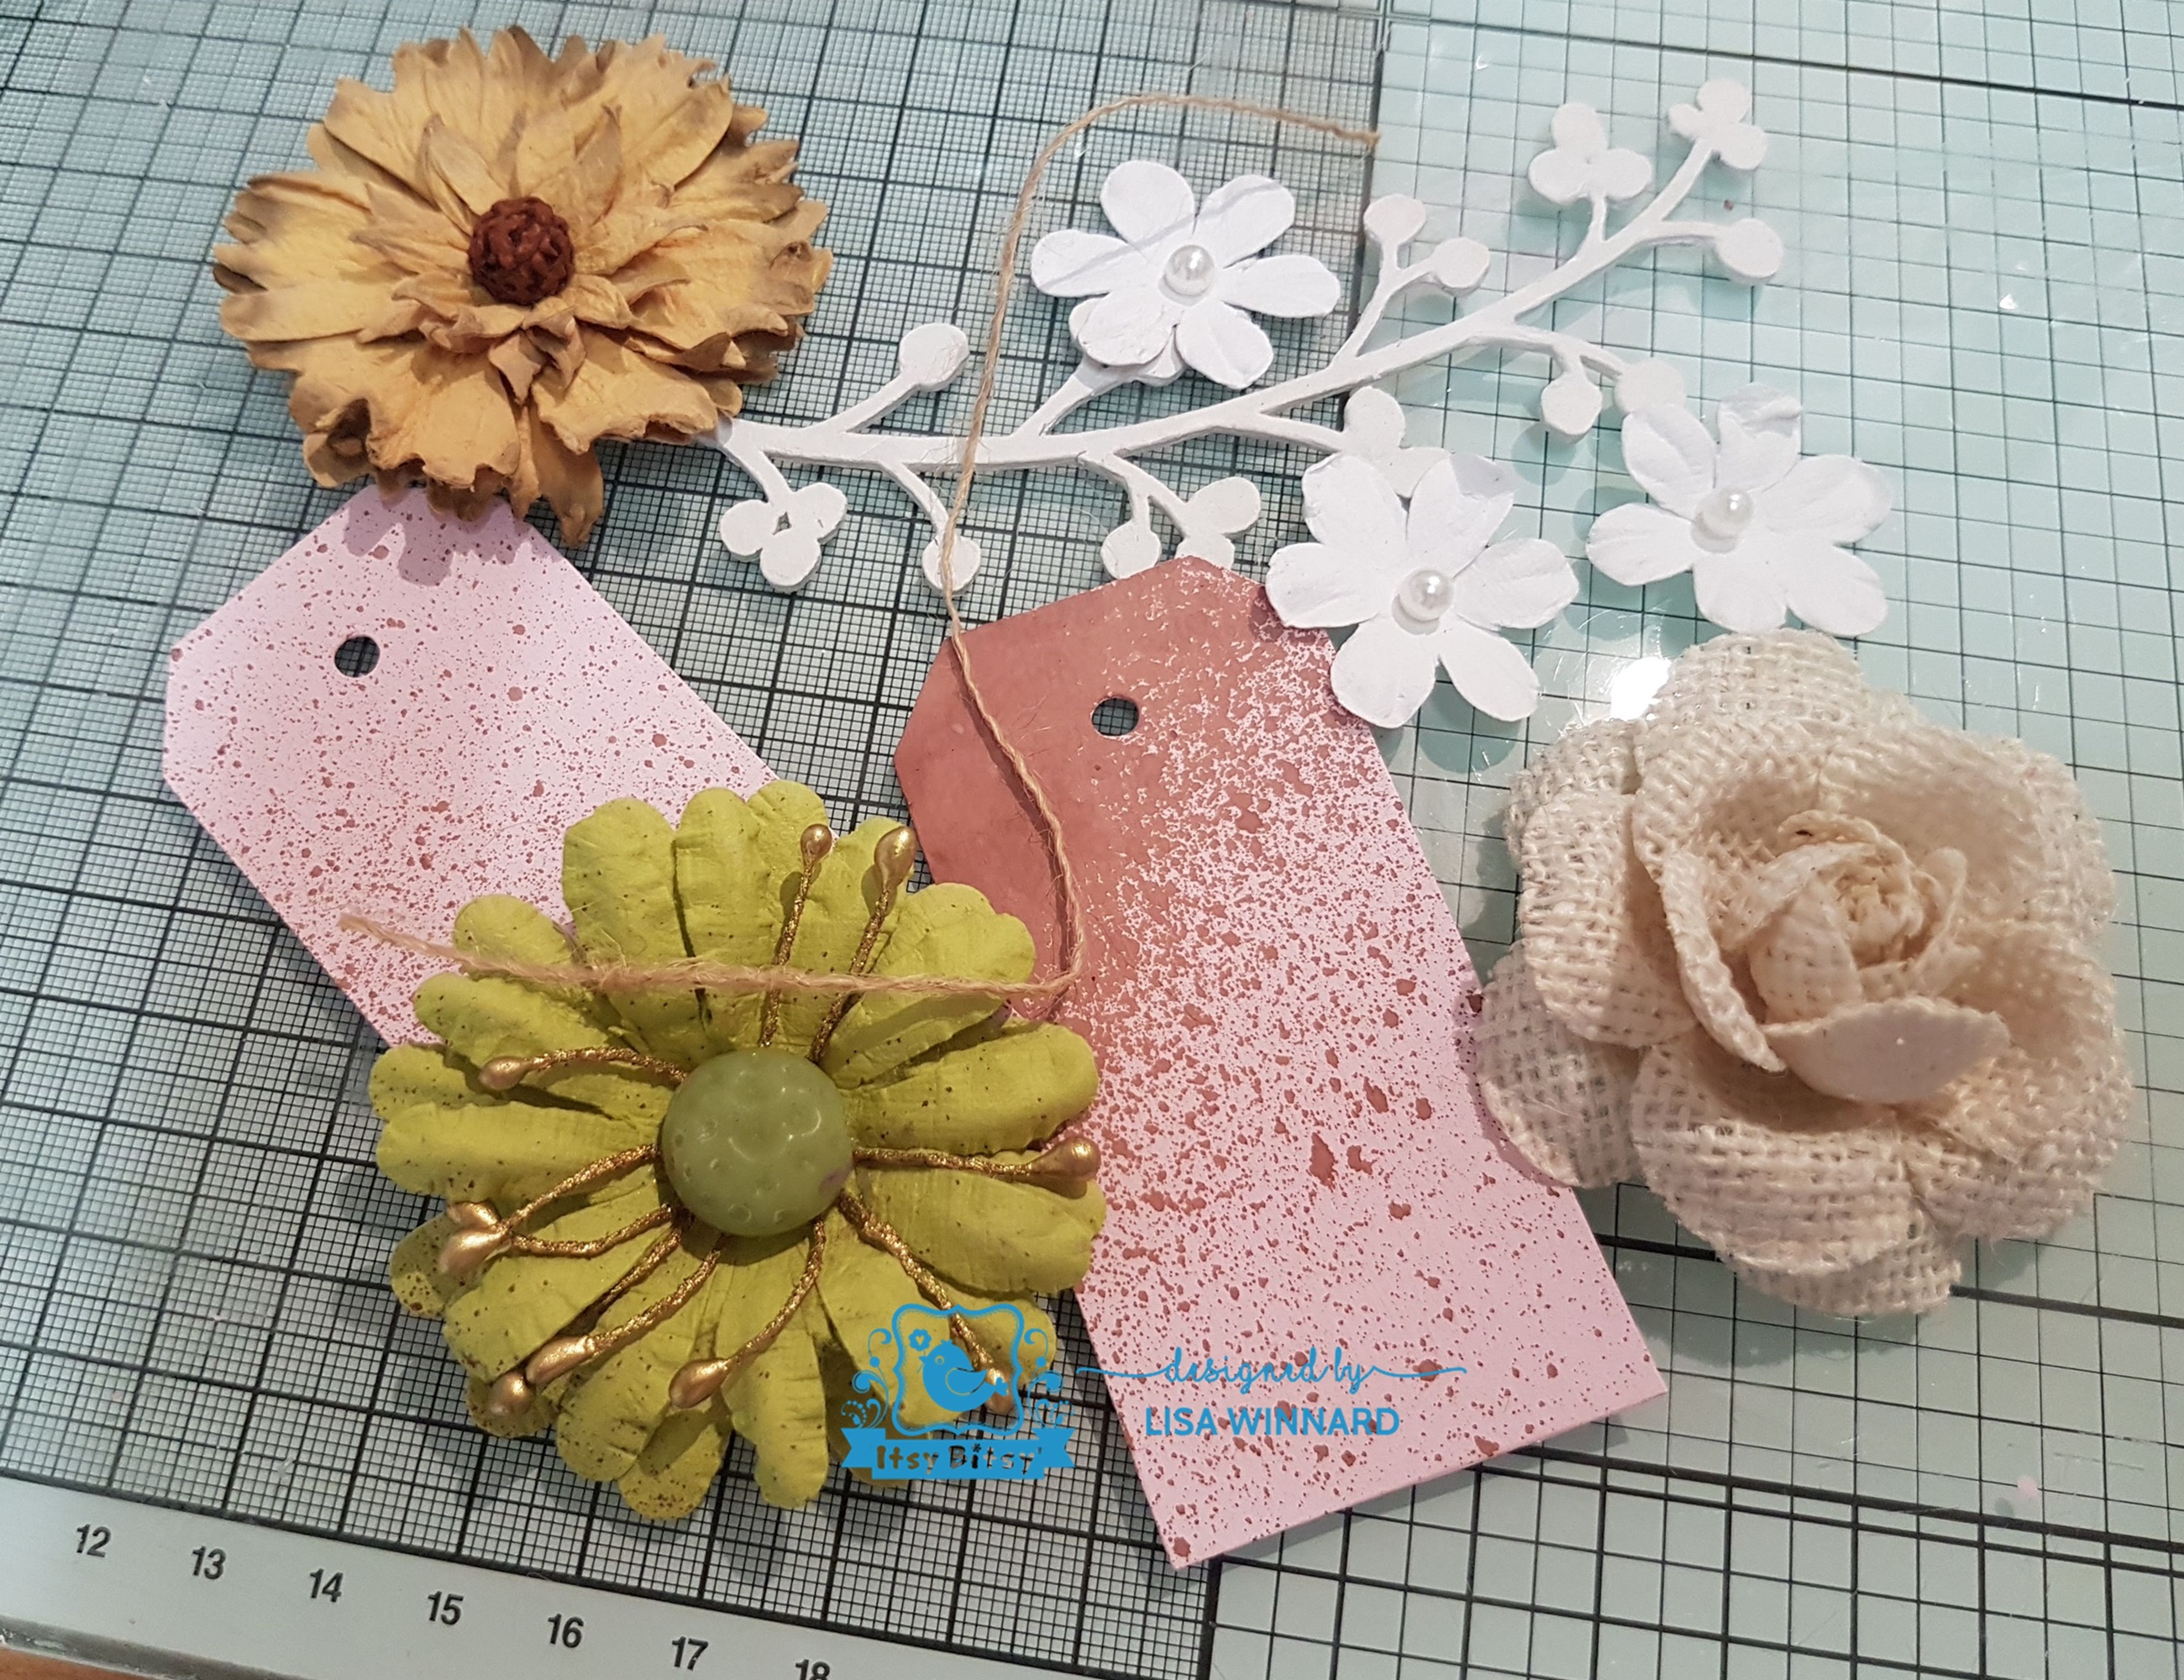
I haven't chosen a specific Tando kit for this theme but instead, I had a rummage through my Tando box and picked out some "left-overs". (If, like me, you have had a few bits & pieces from Tando in the past, you will notice there are always poppie-outie-bits in a kit, which you could throw away or extra pieces of a grab bag you may not have used.... I tend to keep these in a separate box. In my "left-overs" box I have all sorts of shapes in many different sizes and these are the bits I used for this project.)

So, I used one of the innie arches from the Arabian Style Layered Arch Frame, Grab Bag of Circles, Butterfly Grab Bag and a birdcage.


I first Applied DecoArt Texture Sand Paste through the Tando Brick Stencil to the arch and left to dry. 


I added a couple of circles gluing a smaller circle under a bigger one to lift it from the background. 


I added the birdcage, then the butterflies.


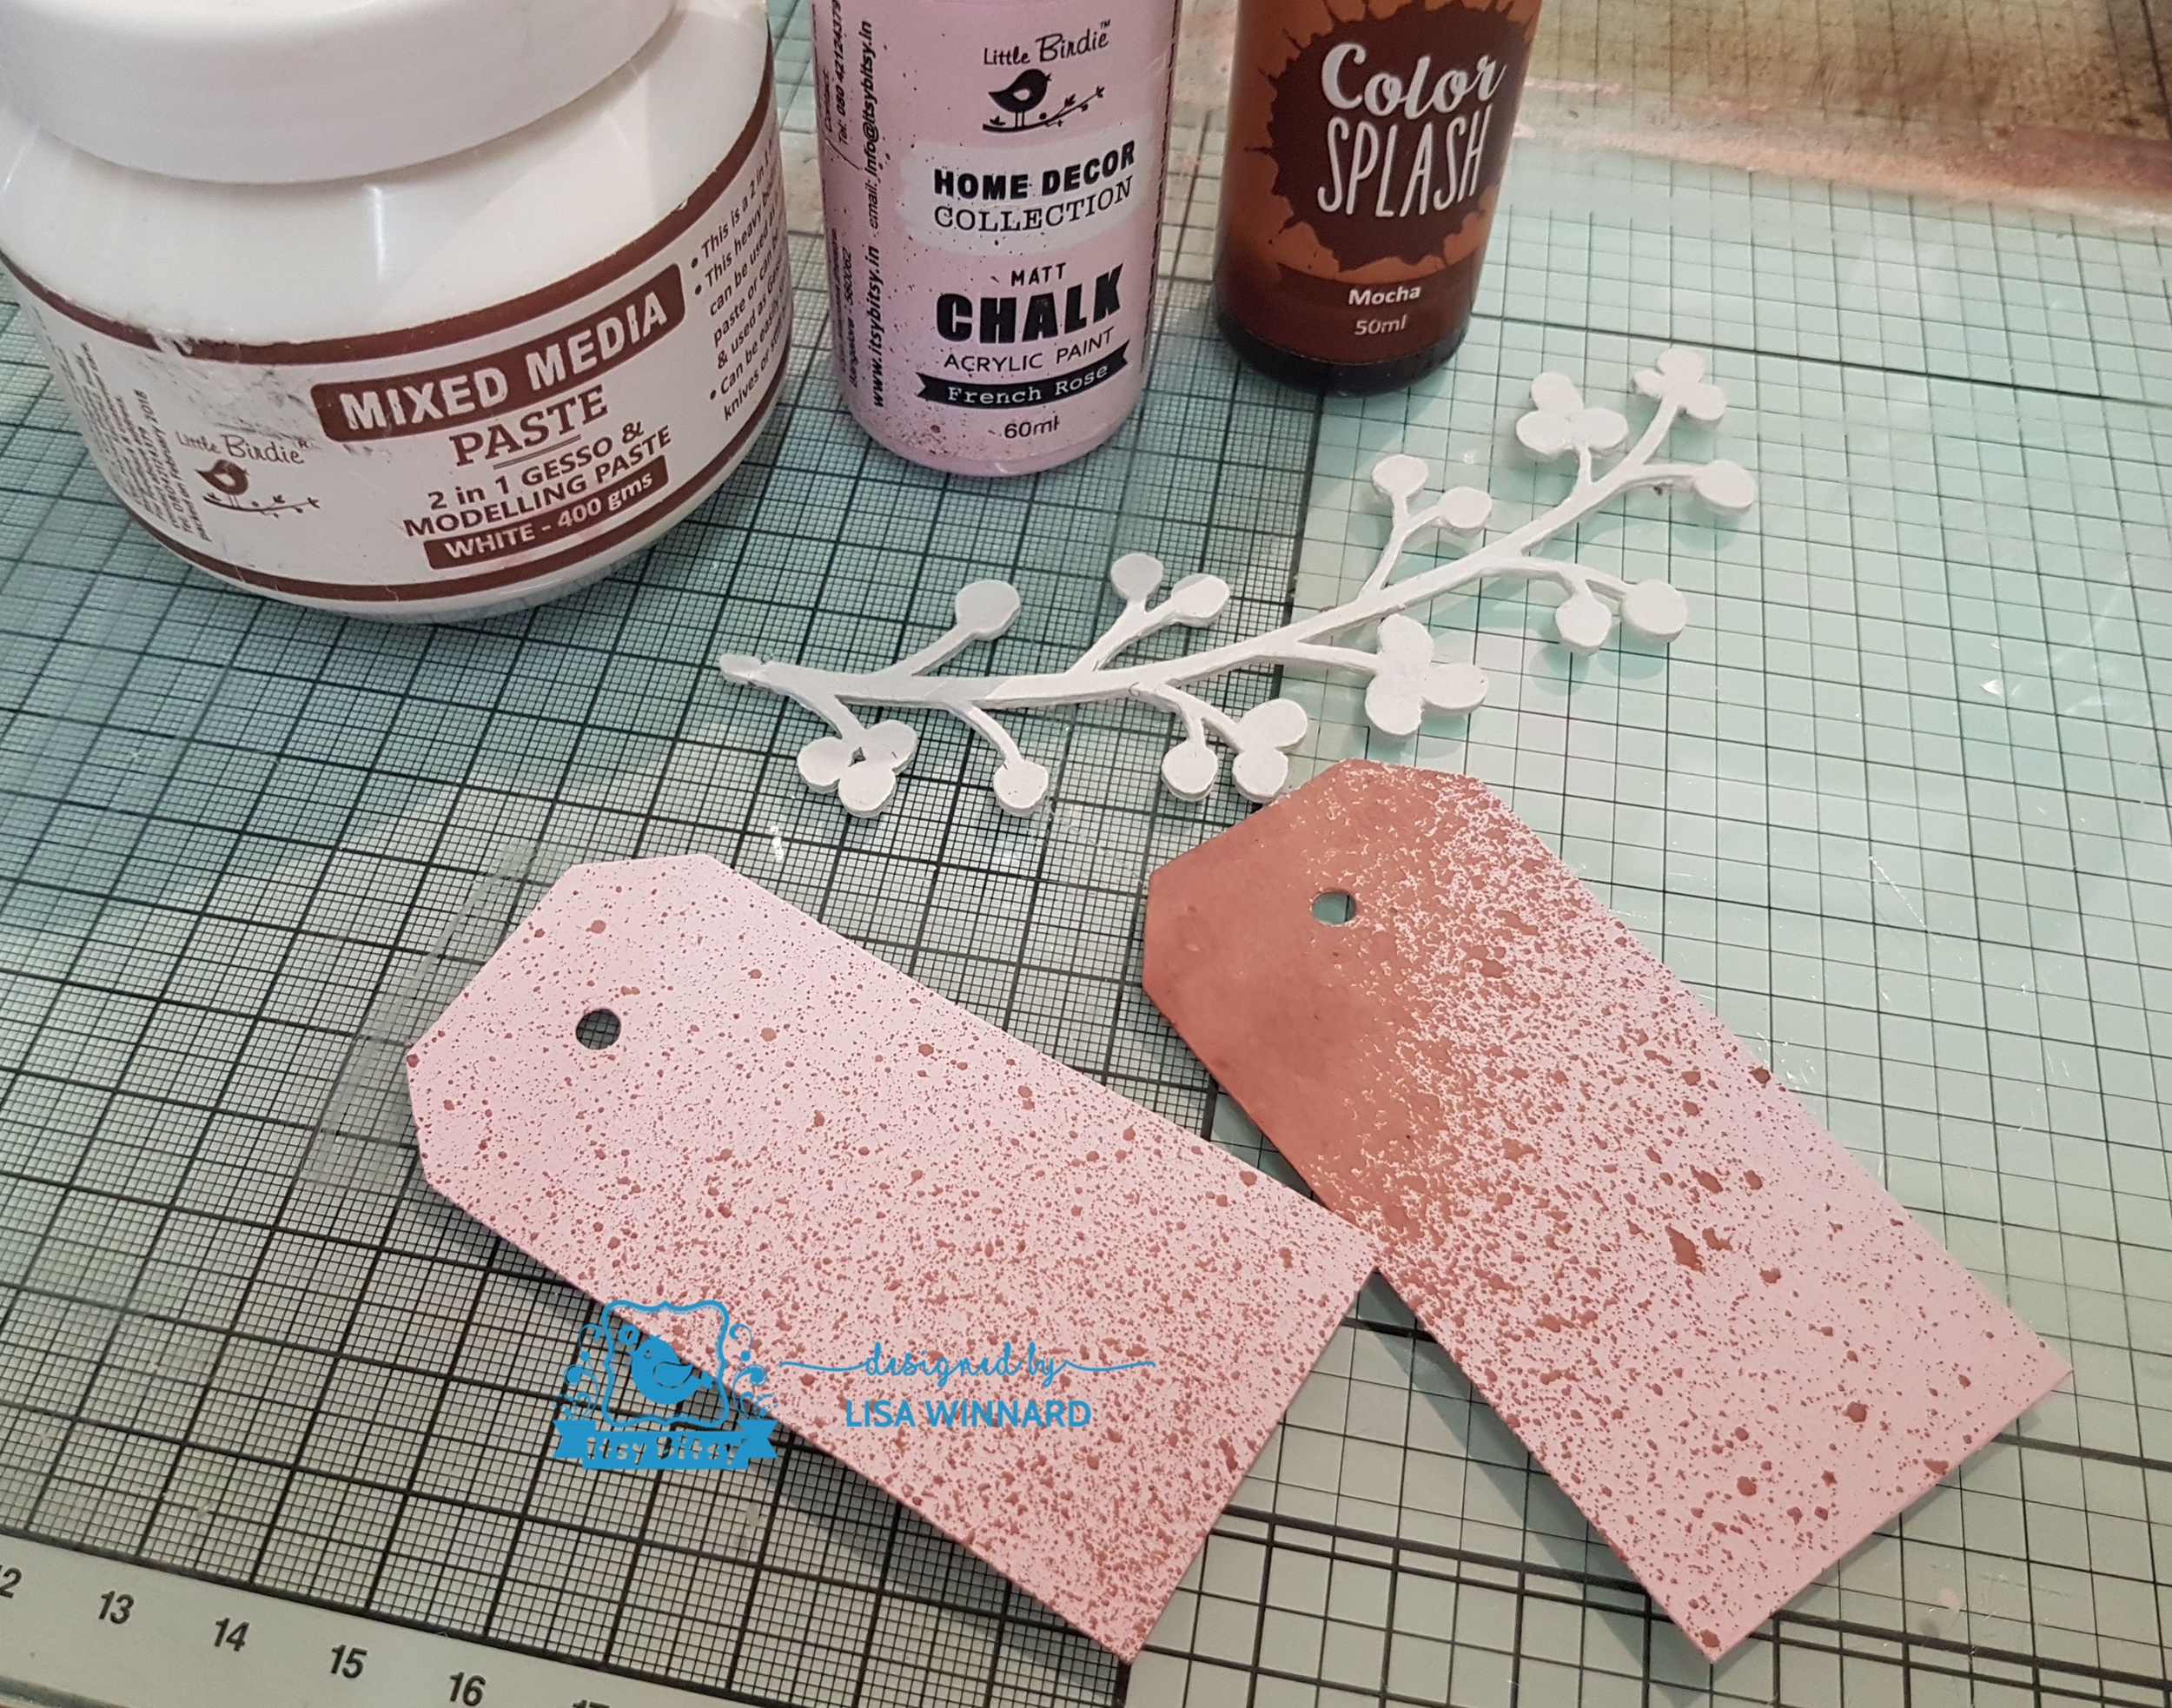
I then used DecoArt Premium Acrylics to paint it. When it had dried, I dry-brushed  DecoArt Tinting Base over the top to tone the colours down.


Thanks for popping by today.
Toodles for now, 
Lisa x 


Arabian style Layered Arch Frame   Grab bag of Circles    Stencil: BRICK    Media: Texture Sand Paste

Thursday 26 July 2018

Distressed in Time

Hi folks, welcome to my post for The Artistic Stamper. This month's theme is 'distress', my favourite theme! 


The Artistic Stamper products I used was the Girl with Clock stamp and Random Dots 6 x 6 Stencil.

I first created the background using the stencil and Distress Oxide inks. 


I stamped around the edges of the background using just the clock part of the stamp. Then stamped in areas using one of the stamps from the Mini Backgrounds #3 stamp set. 

I stamped the Girl With Clock stamp on to acetate and painted the reverse of the acetate with white acrylic paint. 


I then painted some ball head pins with black gesso.

I mounted the acetate piece on a double layer of foam pads and pinned the painted pins in to the foam.


Thanks for popping by my blog today.
Toodles for now, 
Lisa.


Collage & Retro    MIni Backgrounds # 3 size A6  ( cut and  mounted on cling cushioning )        The Artistic Stamper Mask- Random Dots 6" x 6"


Caged Heart

Hello lovelies, and welcome to my post for Itsy Bitsy. I have been playing with the gorgeous Little Birdie Chalk Paints again for this project. 


The chalk paints are stunning to work with, so smooth and a really nice thickness for good coverage. I decided to try something new and design a sculpture piece. So, I started with a glass coaster, polystyrene ball and a 3D cardboard heart. I glued them together then wrapped them in masking tape.
(The masking tape is better to work on than the polystyrene and glass. Some mediums don't particularly like manmade materials so if they are wrapped in masking tape, which is made of paper, mediums work much better on the surface.) 


I wanted to add some texture using Cheese Cloth, but with added structure. So I used PowerTex.

PowerTex requires you to put the fabric directly in to the stiffener covering the entire piece of the fabric, squeeze out the excess then wrap the wet fabric around the substrate.  I poured some of the stiffener on to a plastic plate, cut squares of cheese cloth, dipped them in to the stiffening liquid, squeezed out the excess and wrapped it around the heart, draping the fabric over the ball.


I did this numerous times with the cheese cloth until the substrate was covered. The stiffener dries pretty quickly so the fabric can be shaped and moved in to the correct position until you are happy with it.  When the fabric stiffener had dried completely, I painted the heart shaped with Faded Denim Chalk Paint and the bottom with Rainy Day Chalk Paint.


I then sprayed the heart shape with Wild Rose Alcohol Splash and let the ink run down and drip to the base of the substrate. When the Wild Rose had dried, I sprayed over the top with Golden Soot Alcohol Splash and again, let it run down the sides.


I wanted to make the shape of the heart more prominent. Using rusty wire, I created a 3D wire heart to fit around the heart shape on top of the substrate.


I then added some Symphony Flowers underneath the wire heart to soften the base of the substrate and keep the heart 'caged'.


Thank you so much for popping by my blog today. 
I hope you like my structured creation and I hope I have inspired you to try something new.
Toodles for now, Lisa xxx


Sunday 15 July 2018

Dominos @ Tando Creative

Hello peeps and welcome to my post for Tando. This weeks theme is 'Dominos'.


For this weeks theme I used a long tags along with one of the hearts from the textured hearts pack. 


First, I added some DecoArt Tinting Base to the tag and the heart. Then painted everything using DecoArt Premium Acrylic Paints. 


I then added the dominos.


And added some rusty wire through the tag hole.


Thanks for popping by my blog today,
toodles for now, 
Lisa x 


Set of 5 Long Tags     Textured Hearts

Wednesday 11 July 2018

Distressed Butterfly

Hi lovelies, today's post is for The Artistic Stamper and this month's theme is 'Distress'.
Distress. My favourite subject!!!


I first started with a plain piece of white card and used Tattered Angels ink sprays to add some colour to the background. 


I then added some layers using Mini Backgrounds #1 & #2 with black ink.


I stamped the large butterfly from the Insects and Butterflies stamp set on to patterned paper then cut out and sprayed with teal ink spray.


I stamped the butterfly on to the background multiple times, overlaying the image with light pressure. 


Then adhered the cut out butterfly over the top.

To finish, I distressed the edges of the card with a pair of scissors. 


Thanks for popping by my blog today,
toodles for now,
Lisa x 


Here are the Artistic Stamper stamp sets I used....


Mini Backgrounds # 2 size A6  ( cut and  mounted on cling cushioning )   Mini Backgrounds #1  size A6 (cut out and mounted on cling cushioning)      Insects and Butterflies 1 A5  (cut out and mounted on cling cushioning)


Sunday 1 July 2018

Using Spray Inks @ Tando


Hello lovelies and welcome to my post for Tando.
This week we have been playing with spray inks and I decided to break out my collect of Tattered Angels sprays.

Here is what I created...


I used the Tando Compendium kit from Andy Skinner which is a brilliant kit containing an MDF baseboard and a fantastic selection of greyboard cogs, a clock face, washers, screws heads, nuts and bookplates.


I first played with gluing all the greyboard pieces together as they can be used on their own or layered on top of each other to make 3D pieces. 


While the greyboard pieced were drying, I applied some DecoArt Crackle Paint and Texture Sand Paste to the MDF baseboard and left to dry. I then adhered all the greyboard on top of the MDF base.


Then I started spraying!!!!
I used Tattered Angels Baseboard sprays in Ivory, Lava and Gravel, Chalkboard Seven Seas, Simply Sheer in Shade and Glimmer Mists in Dragonfly, Merlot Gold, Pearl, Rolling Tide and Old Penny.


Thanks for popping by my blog today. Leave a comment if you wish, I love to hear your thoughts.

Toodles for now, 
Lisa xxx


Andy Skinner Compendium


I would like to enter this creation in to the following challenges...
Sandee & Amelie's Steampunk Challenges - Summer Special 2018