Showing posts with label clear embossing powder. Show all posts

Thursday, 10 January 2019

A Fond Farewell to The Artistic Stamper

Hello lovelies and here's to a happy new year for 2019. Wow - 2019!!!! However, the start of 2019 is slightly bitter sweet as I have decided to leave the team at The Artistic Stamper. 

As the saying goes, "I've got a bit too much on my plate" to continue at the moment and there just isn't enough days in the week! So after having a chat with The Artistic Stamper owner, the lovely Jennie, she asked if I would do one last 'going-out' post for the team.

I have loved every minute being on the team and I will of course miss the fabulous ladies but I am sure I will continue to check in on the amazing creations they come up with.


So here is my last creation... 


First, I stamped some pumice stone oxide and spun sugar oxide distress inks on to my craft mat, sprayed with water and smooshed a 7" x 7" piece of 300gsm white card through. I did this a couple of times, drying in between to create a more intense layer of colour as the colours I had used were quite muted. 

I then used The Artistic Stamper 3 x 3 chevron stencil and the 3 x 3 harlequin stencil with the same oxide inks to add some pattern to the background. 


I then stamped two of the butterflies from The Artistic Stamper A5 insects and butterflies stamp set on to white card with smokey grey Versafine ink and heat embossed it with clear embossing powder. I then fussy cut the butterflies and inked them with spun sugar oxide ink. 

I stamped the Butterfly Words stamp on to white card, distressed the edges and inked the edges with spun sugar oxide ink. Then mounted it on to a bigger piece of card which I again distressed the edges and inked with pumice stone oxide ink.


To finish, I matted the background on to a piece of 7.5" x 7.5" white card which I had inked around the edges with the grey oxide ink. I placed the sentiment on to the card then added the butterflies, just in the centre to allow the wings to stick up. 


Thank you so much for popping by my blog today.
Toodles for now,
Lisa x 

Here is everything I used which is available on The Artistic Stamper website. 


Insects and Butterflies 1 A5  (cut out and mounted on cling cushioning)   Butterfly Words (cut out and mounted on cling cushioning)   The Artistic Stamper Mask Chevron 3" X 3"   The Artistic Stamper Mask Harlequin 3" X 3"   Distress Oxide - Pumice StoneDistress Oxide - Spun Sugar

Friday, 11 May 2018

Creating Backgrounds @ The Artistic Stamper

Hello folks! Welcome to My first post for May for The Artistic Stamper. This month's theme is 'backgrounds'.

The Artist Stamper have a fantastic collection of stamps which can be used for backgrounds. 
I love making my own backgrounds - starting with a white piece of card and adding colours, textures and layers to create a background. 

And this is what I did for this creation...


I started with a white piece of card - size 7" x 7" and coloured the white card with a selection of blues and purples Distress Ink. 


I then added a couple of squirts of water and let the water run down the card.


I used The Artistic Stamper Mini Backgrounds A6 stamp set, Mini Backgrounds A6 #1 and Mini Backgrounds A6 #2 by Neil Walker. 
(These stamps do all come as individual A5 stamps. But with the Mini Background set, there are 4 stamps in the set which I find gives me much more variety.)

I used stamps from all three sets and stamped using the same Distress Inks, layering and overstamping the patterns.


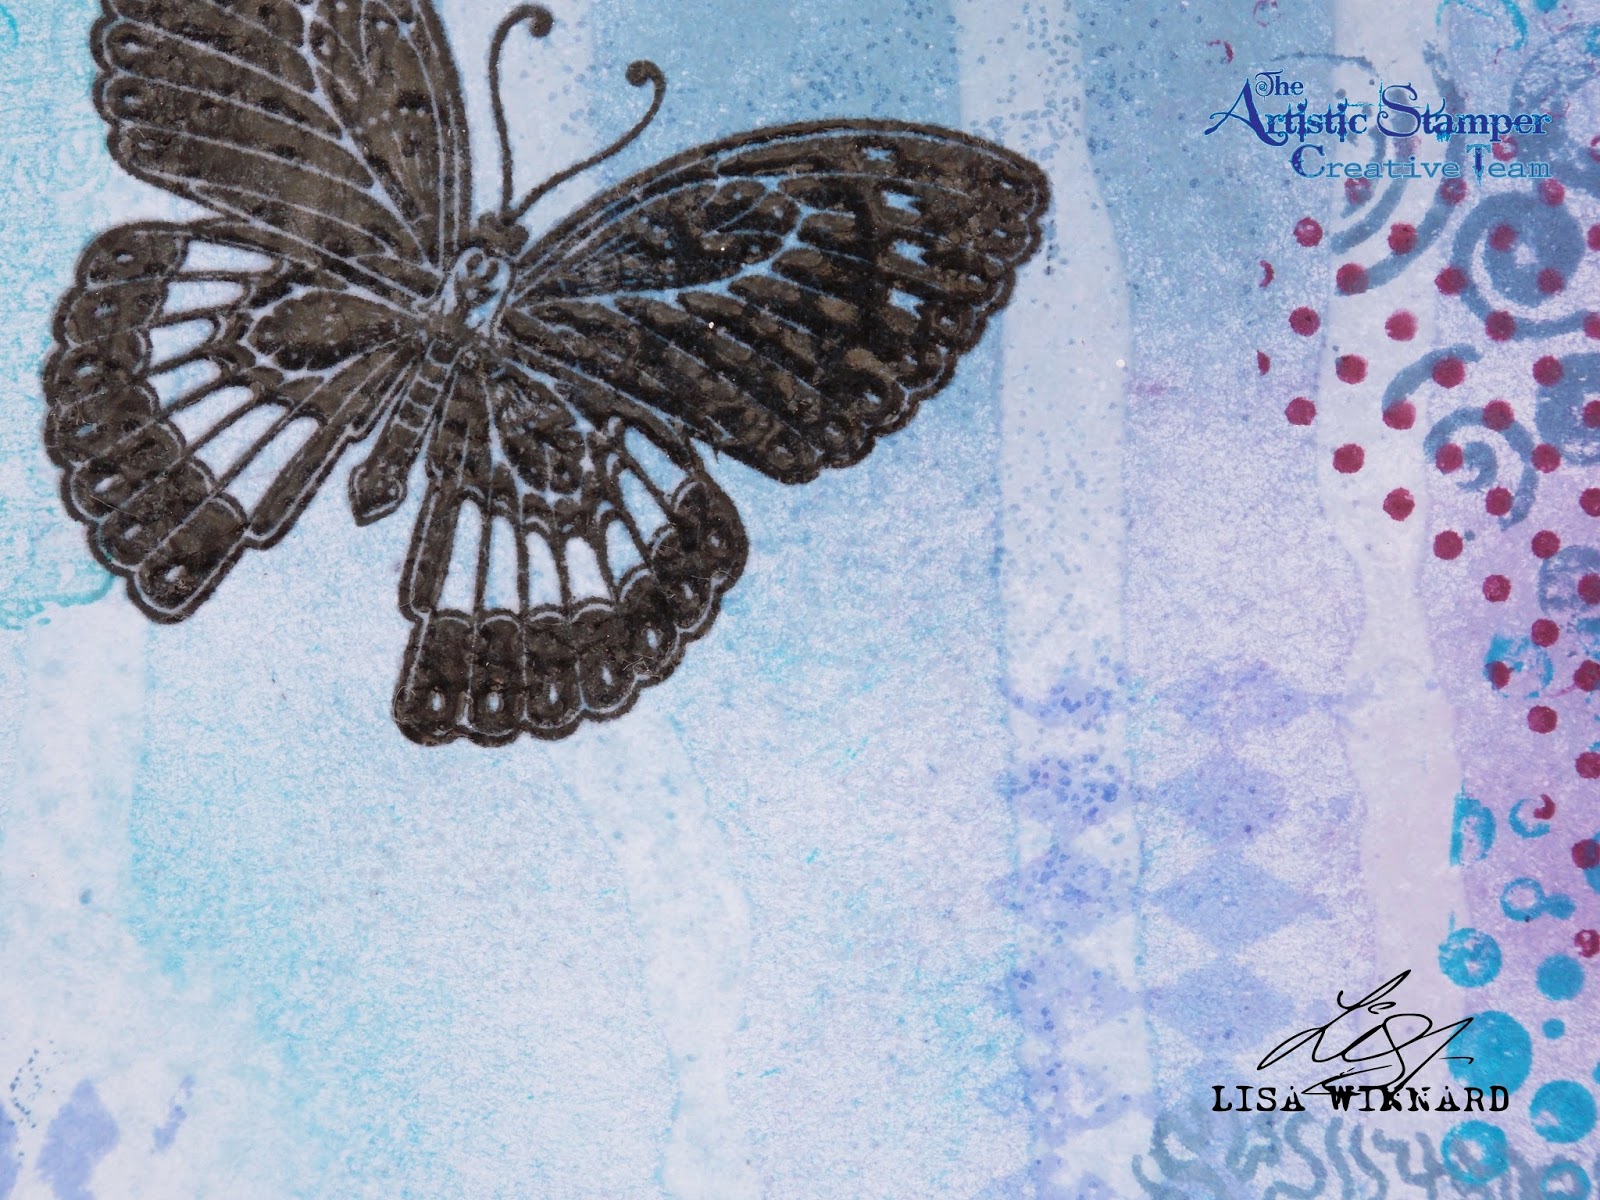
I then stamped the butterfly from the Insects and Butterflies A5 stamp set on to the background with black ink. I then heat embossed it with clear embossing powder.


To finish I added a sentiment from the Tim Holtz Advantus Idea-Ology Small Talk sticker.


Thanks for popping by my blog today.
Toodles for now,
Lisa xxx 

Here is everything I used...


Mini Backgrounds #1  size A6 (cut out and mounted on cling cushioning)       Mini Backgrounds # 2 size A6  ( cut and  mounted on cling cushioning )       Mini Backgrounds size A6  © Neil Walker (cut out and mounted on cling cushioning)   Insects and Butterflies 1 A5  (cut out and mounted on cling cushioning)   Image result for tim holtz small talk stickers uk   

I would like to enter this in to the following challenges:
Craft Stamper - "Take It Make It challenge May - anything goes
Stamping Sensations - Sir Stamps A Lot May challenge - "Close To Nature"


Sunday, 1 April 2018

Honeycomb Spring with TAS

Hello folks and welcome to my post for The Artistic Stamper. The start of April comes a new Spring theme, "Birds and the Bees".

For this creation I used The Honeycomb Background stamp.


I used the Honeycomb Background stamp with a selection of Distress Inks to create the background, inking and stamping with the inks.


I then used the same stamp stamped with black ink and coloured with Distress Inks to create the top layer.


I applied 6 layers of clear embossing powder over the top then cracked the embossed layer to create texture. I cut in to 1 inch sections and mounted on to black card. 
I then stamped one of the bees in the stamp set, fussy cut and stuck with 3D foam dots. 


To finish I added a 7 Dots Studio sticker sentiment.


Honeycomb Background & Free Bees  (cut out and mounted on cling cushioning)


Thanks for popping by my blog today. 
Please leave a comment if you wish, 
I love to hear your thoughts.
Toodles for now,
Lisa xxx