Showing posts with label white gesso. Show all posts

Sunday, 24 June 2018

Real or Faux Fabric

Hi peeps, I'm here with my post for Tando Creative.
This weeks theme is 'real or faux fabric'.
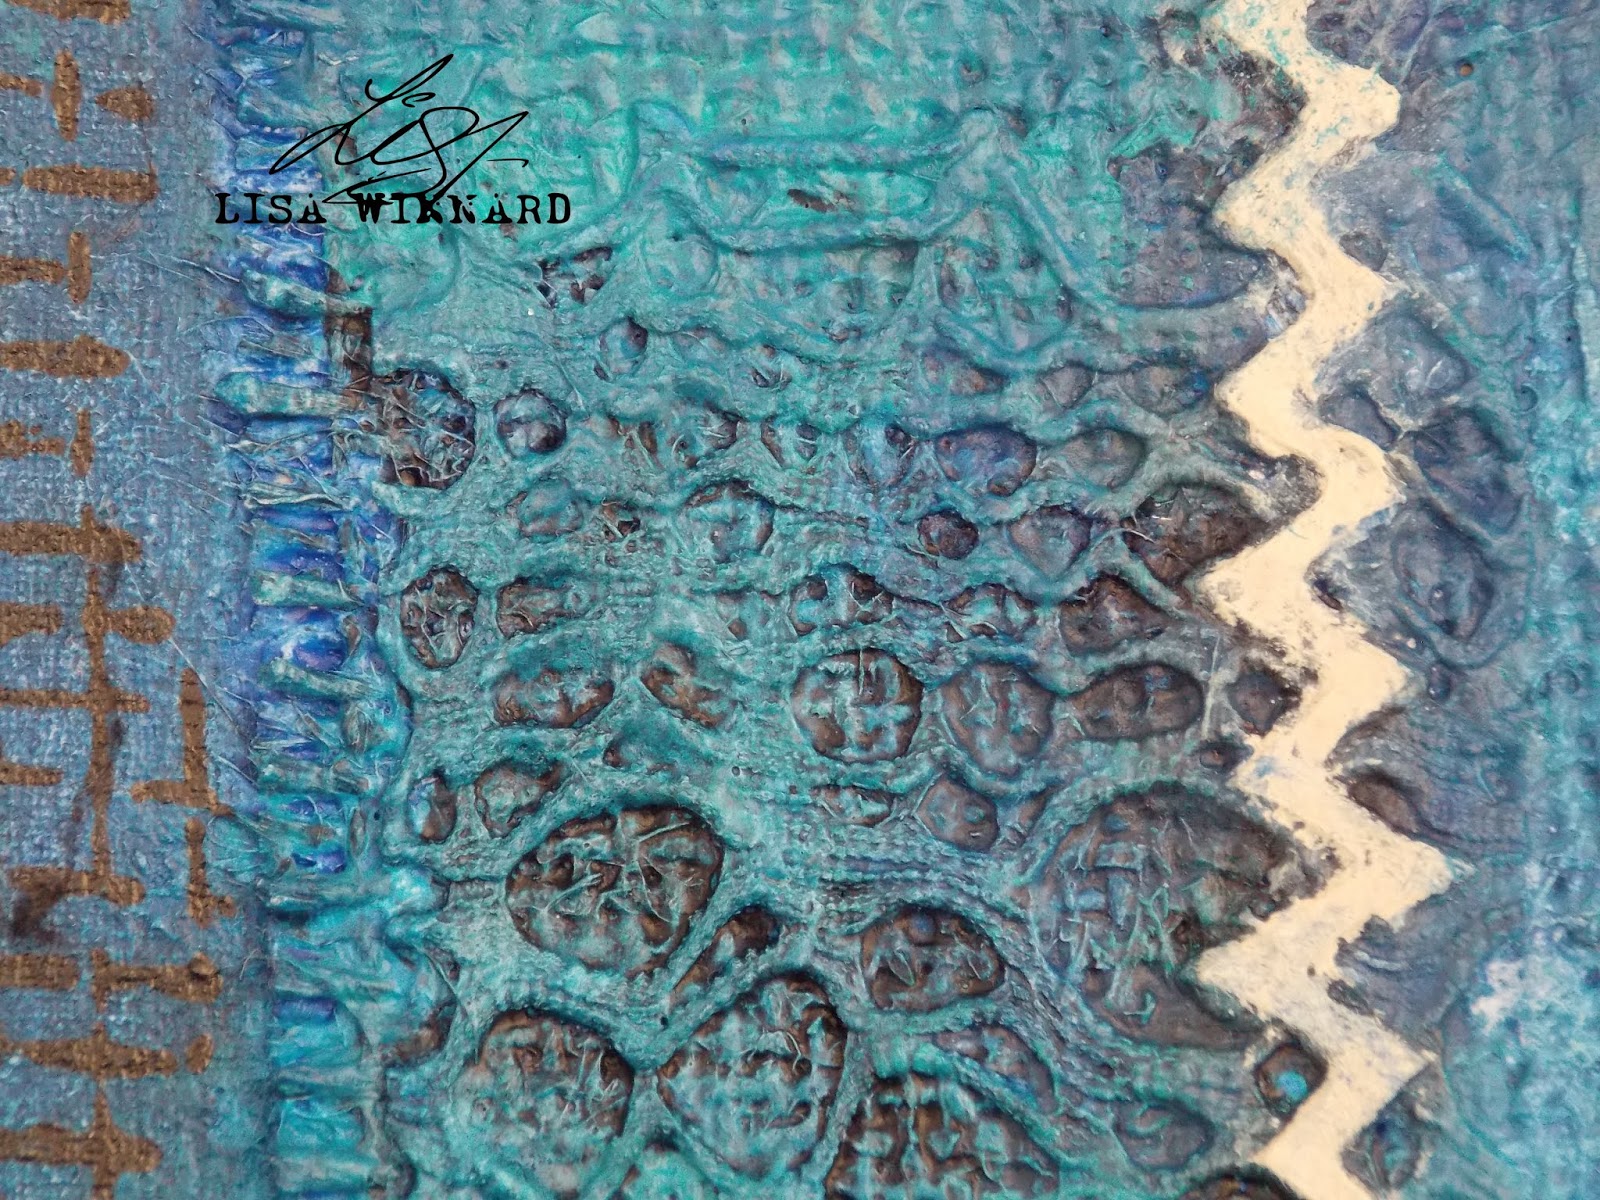
I created an ATC (Artist Trading Card) or rather a LATC. Which is a LARGE ATC, which to be honest, is something I kinda made up.... as an ATC is traditionally 2.5" x 3.5" in size where mine is slightly bigger. So, I suppose you could be called a postcard??


I gathered a collection of different fabrics - canvas, cord, ribbons, burlap... and glued them to a piece of Tando greyboard.


When the fabric had dried, I painted the surface with DecoArt white Gesso. 


I used the Tando Stitches Group 15cm x 15cm stencil with DecoArt clear modelling paste to add some raised stitches. 


And some buttons. Then painted it with DecoArt Premium acrylics. 


Thanks For popping by.
Toodles for now,
Lisa xxx


Stitches Group Mask 15cm x 15cm


Saturday, 21 October 2017

Tando Christmas Scene Box step-by-step

Hello and welcome to a special blog post for Tando Creative. This post is a step-by-step to how I created the Tando Creative Christmas Scene Box kit.

Here is my final creation...


Step-by-step...

Firstly, I got all the pieces of the kit out of the packaging and laid everything out on the table. (Tando kits are usually pretty straight forward to put together but I always do a dry run first before I start adding decoration just to make sure I am decorating the right side and I know where to add glue etc..)


I then painted all the pieces of the kit with DecoArt white Gesso on both sides and left to dry.


On the back part of the box, which would be on the inside of the box, I used DecoArt white modelling paste through the Tando Creative 6 x 6 snowflake mask.


Next, I built all the flat house pieces in to 3D houses, gluing the flaps down and adding the roof to each house. 


I put PVA glue in a container and added a few drops of water to make it more runny. I spread the runny glue on to the bottom piece of the box, which would be on the inside of the finished box, and added tissue paper. I did this over and over to build up lots of layers to create a paper mache hill. I wanted the hill to have lots of texture with added lumps and bumps to eventually look like a snowy mound. 


Next, I made a batch of extra thick home-made texture paste. This is a mixture of PVA glue and baby powder. I start by putting the same quantities of each ingredient in a large container and mixing together. Then depending on how thick I want the paste I add more PVA/powder to the mixture until I am happy.


Sometimes, I add other ingredients like beads, sequins, paint... or in this case building sand. The sand makes the paste more gritty which adds extra texture.


When all the ingredients are mixed well together, I used a spatula to spread the paste on to the houses, the tree and the paper mache hill.


I mixed DecoArt Media Metallic Gold Fluid Acrylic paint with DecoArt white Gesso and painted the houses. 


I painted the box sides, top and bottom, front and back with DecoArt Media Fluid Acrylic Cobalt Turquoise paint then added DecoArt Orange Flicker Metallic Lustre using my finger to just softly touch the embossed areas. 


I painted the tree with DecoArt Media Phthalo Green-Yellow Fluid Acrylic paint and dabs of white gesso and added the Orange Flicker Metallic Lustre.


I used the Metallic Lustre on the houses.


And to the snowy hill.


I adhered the tree to the inside back of the scene box.


I then adhered the finished houses inside the box scene.


To finish, I attached the top piece to the rest of the box.
And, here is my finished creation.


Some close-ups....


Everything I used is at the bottom of the blog post and is available from the Tando website.

Thank you so much for popping by, leave a comment if you wish as I love to read your thoughts.
Toodles for now,
Lisa x 


Boxed Scene    Snowflake Mask    Fluid Acrylics: Cobalt Turquoise    Fluid Acrylics: Gold Metallic    Fluid Acrylics: Phthalo Green-Yellow    Media: White Gesso    Media: White Modelling Paste    Metallic Lustre: ORANGE FLICKER

Sunday, 13 August 2017

Summer @ Tando

Hi folks and welcome to my blog post for Tando. This week the theme is Summer. 


Here is what I did...


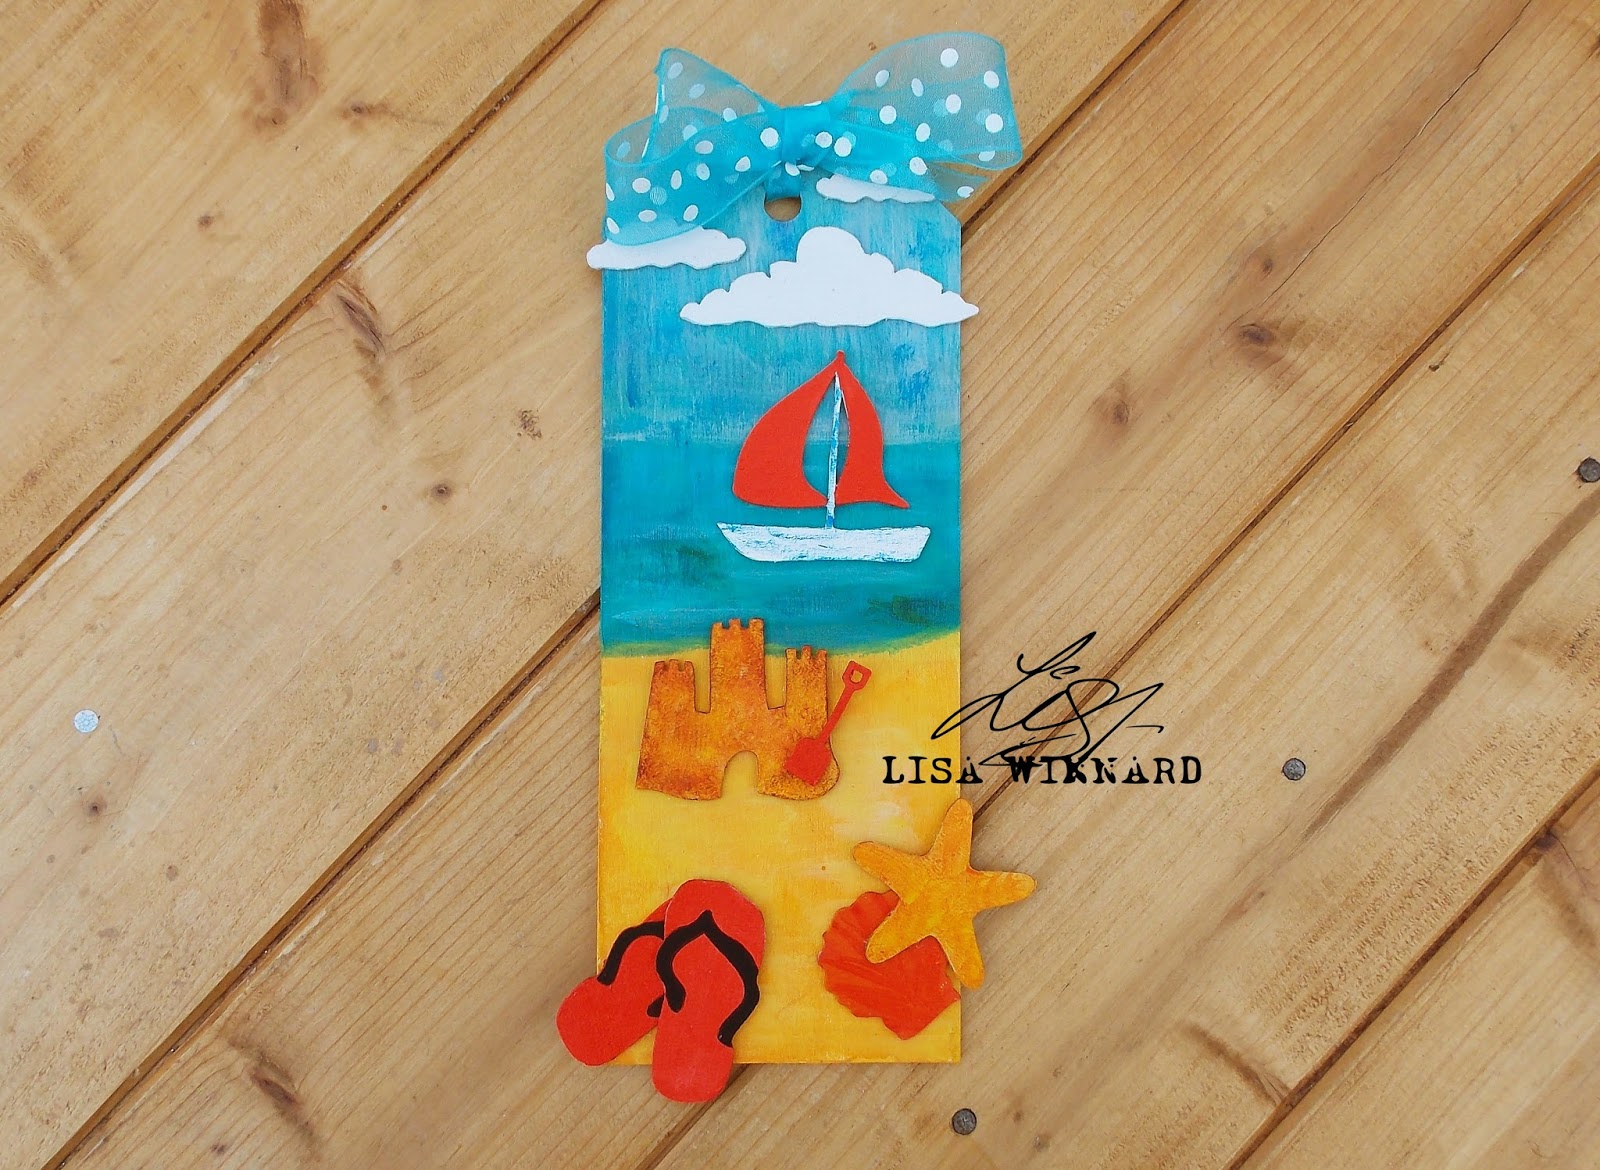
I used one of the Tando long tags (they come in a pack of 5)and to start, I gave it a coat of DecoArt white gesso.

I used a selection of DecoArt Media Acrylic paints to paint the background of the tag. 


I used the Tando seaside embellishments and popped out all the pieces I wanted to use. I gave them a coat of white gesso, added some DecoArt texture sand paste to the sandcastle,  then painted them using the DecoArt Media paints


When everything was dry, I adhered all the pieces on to the tag. 

To finish, I tied some spotty ribbon on the top of the tag.


Thanks for popping by my blog today.
hope to see you again soon,
Lisa xxx


Set of 5 Long Tags   Seaside Embellishments   

Sunday, 16 July 2017

Mixed Media Boards with Tando

Hi folks and welcome to this weeks post for Tando Creative. This week the theme was mixed media boards.

Tando Mixed Media Boards are fabulous small boards which can take loads of layers of different products. They are fabulous for having a play with and trying new techniques with. 

I used three of the 74mm x 138mm mixed media boards for this project.


Here is what I did...


First, I gave the boards with a coat of DecoArt white gesso then painted them with DecoArt Media Acrylic Paints

I then used the Tando 4 x 4 clock mini mask with DecoArt white modelling paste on the background.  


I added DecoArt Crackle Paint randomly over areas of the boards to add some texture.


I used the Tando 6 x 6 sequin waste stencil with the DecoArt paints. I added more layers using Carabelle Studio Chevron stamp and Carabelle Studio Mini Textured Checkerboard stamp. 


I used Stampendous Frantage Embossing Enamel in Shabby Green on Tando holly flourish. I also used the Frantage on some paper flowers and added some white natural raffia. I also recycled some onion netting packaging which I painted to make it darker and added some glue to some areas and adhered microbeads.


I used a selection of stamps from Vive LA Stamps 'Everything Stops For Tea', 'Never Stop Looking Up' and 'Time On My Hands' which I stamped on to acetate with black Stazon Ink. I cut the acetate wider than the mixed media boards and adhered each side of the acetate to the back of the board to create a bubble over the front of each board. 


I really like this project of mixed media boards. They are so versatile to use and just the right size to create fabulous mini projects.


Thanks for popping by today. Please leave a comment, I love to hear what you think.
Toodles for now, Lisa 


Mixed Media Boards 74mm x 138mm    Sequin Waste Mask 15cm x 15cm    Holly Flourish    Image result for decoart media   Image result for carabelle studio chevron   Image result for carabelle studio checkerboard